By the Lovspark Product Team · Updated November 14, 2026

Revit, Rhino, SketchUp or sketch

AI Architectural Rendering

Turn a white model, BIM view, clay render or hand sketch into a photoreal architectural rendering with real materials, light and surroundings.

Upload one view of your building to Lovspark and, if you want specific materials, a reference photo. Lovspark AI keeps the massing, openings and camera from your drawing and renders everything else.

30 credits per run · No install needed · Saved to your Lovspark account · Open in Lovspark

Try AI architectural rendering online

Upload Architectural Drawing
No image handy? Try these:
Upload Architectural Reference (Optional)Optional
No image handy? Try these:
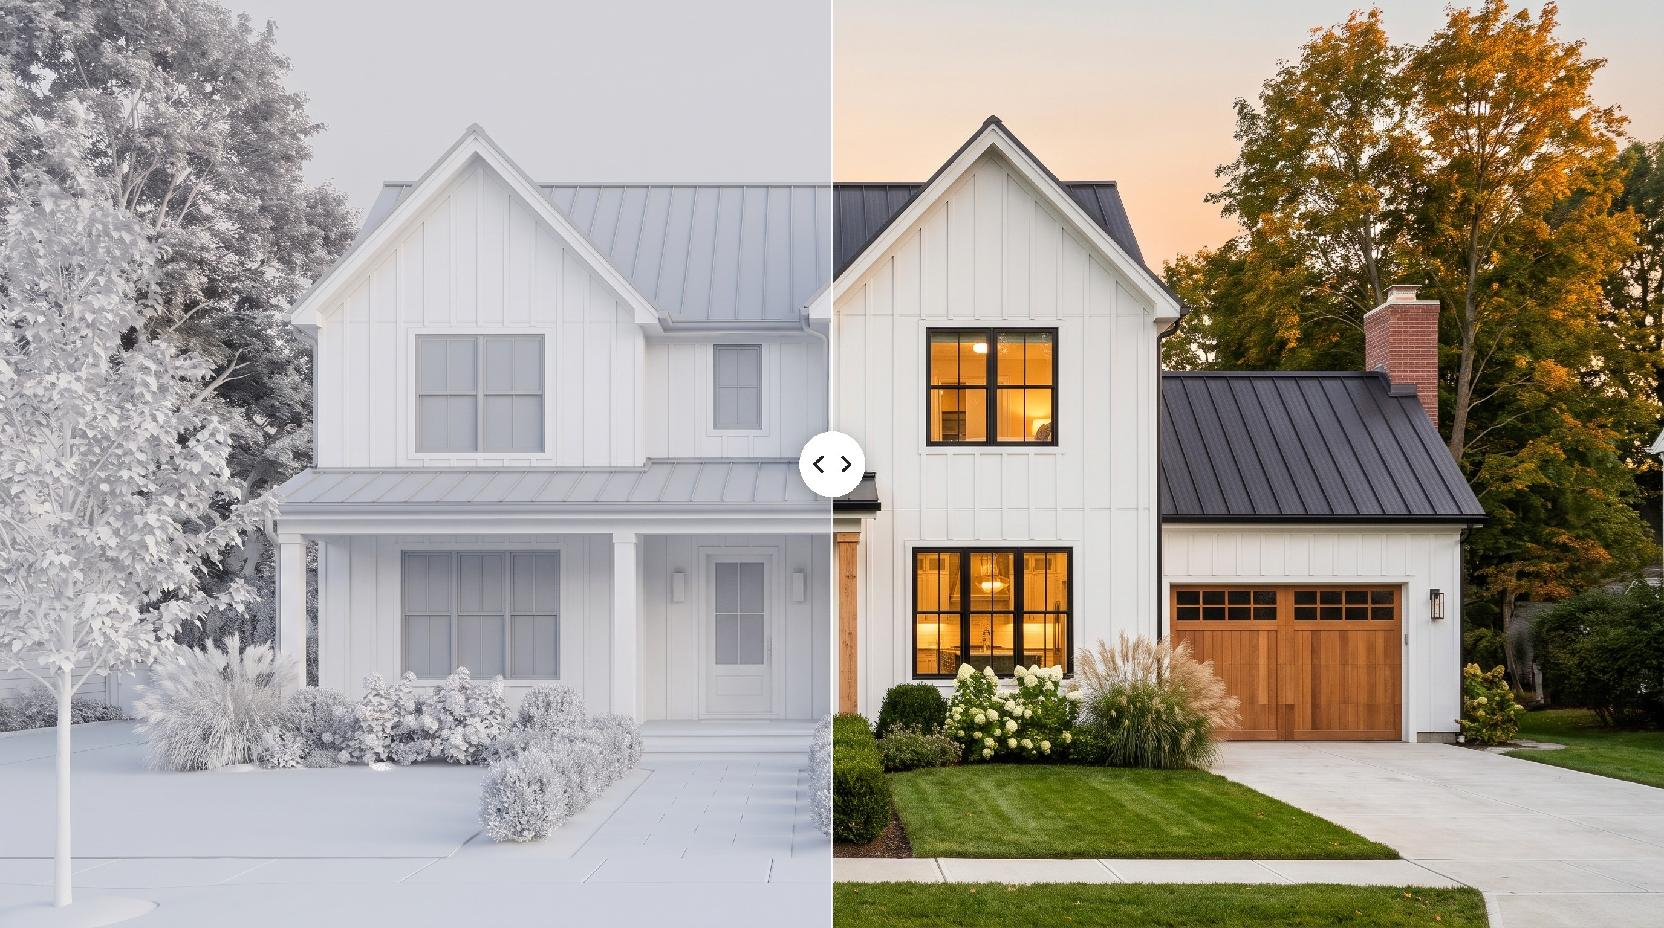
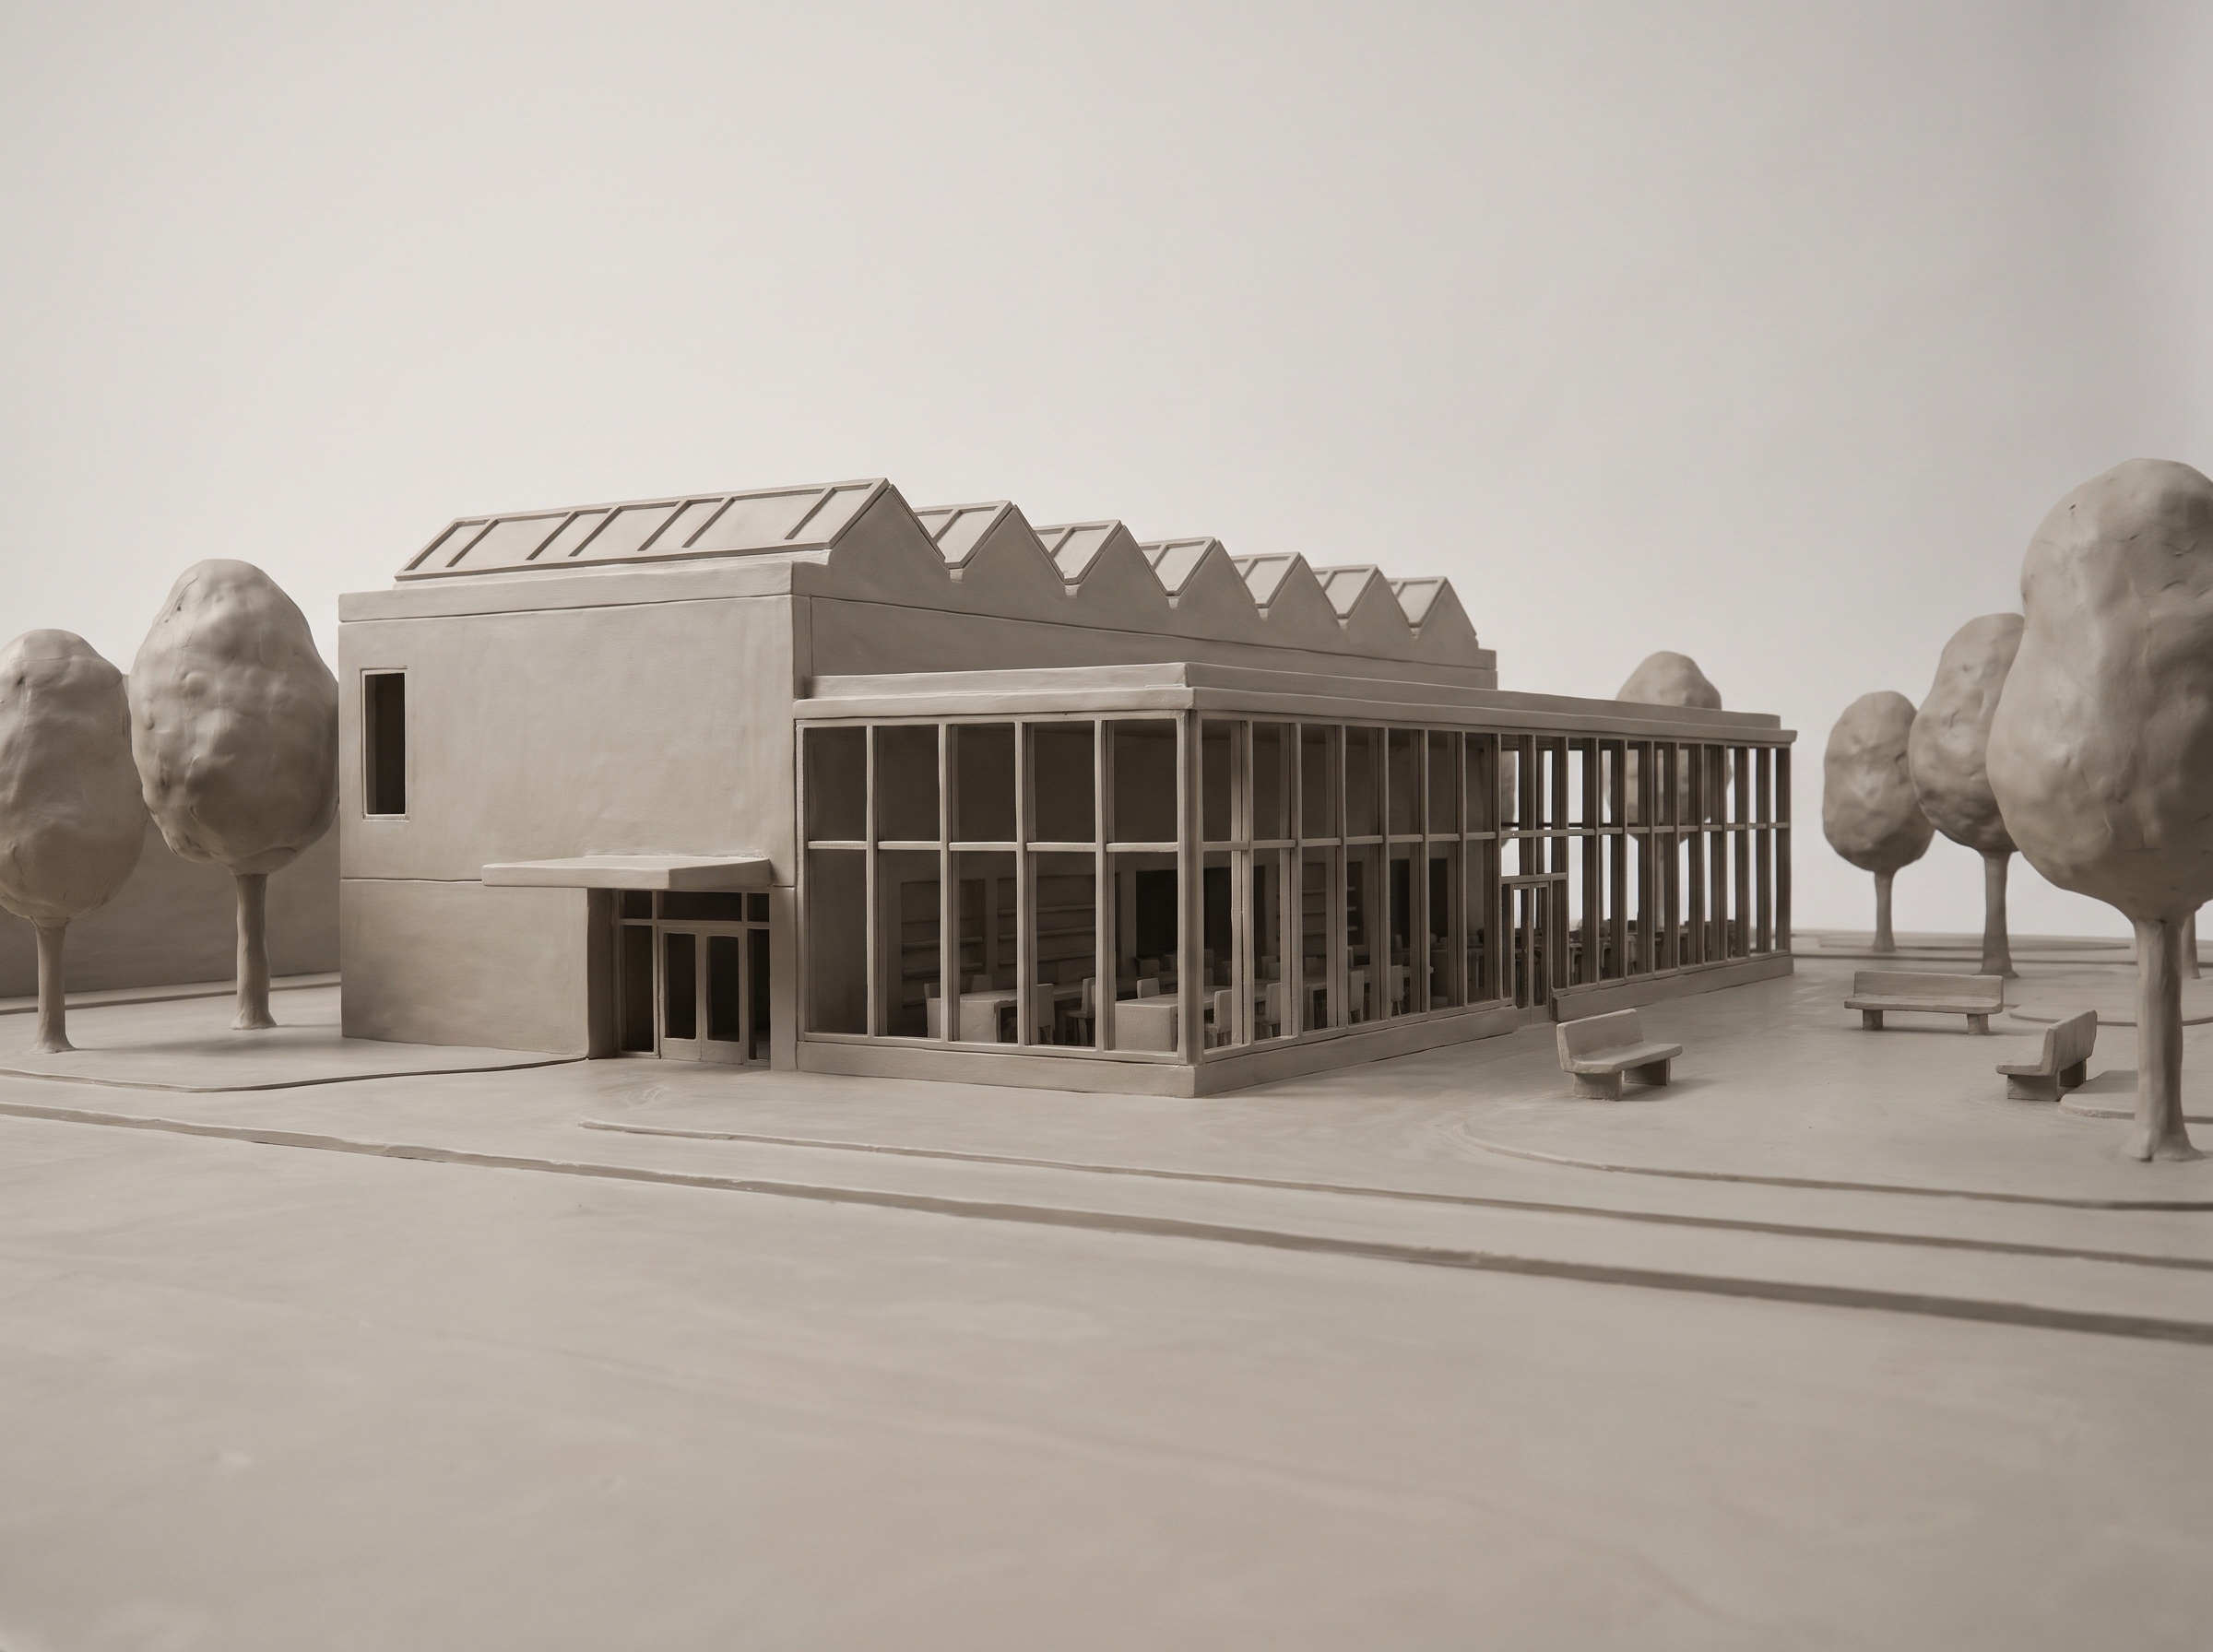
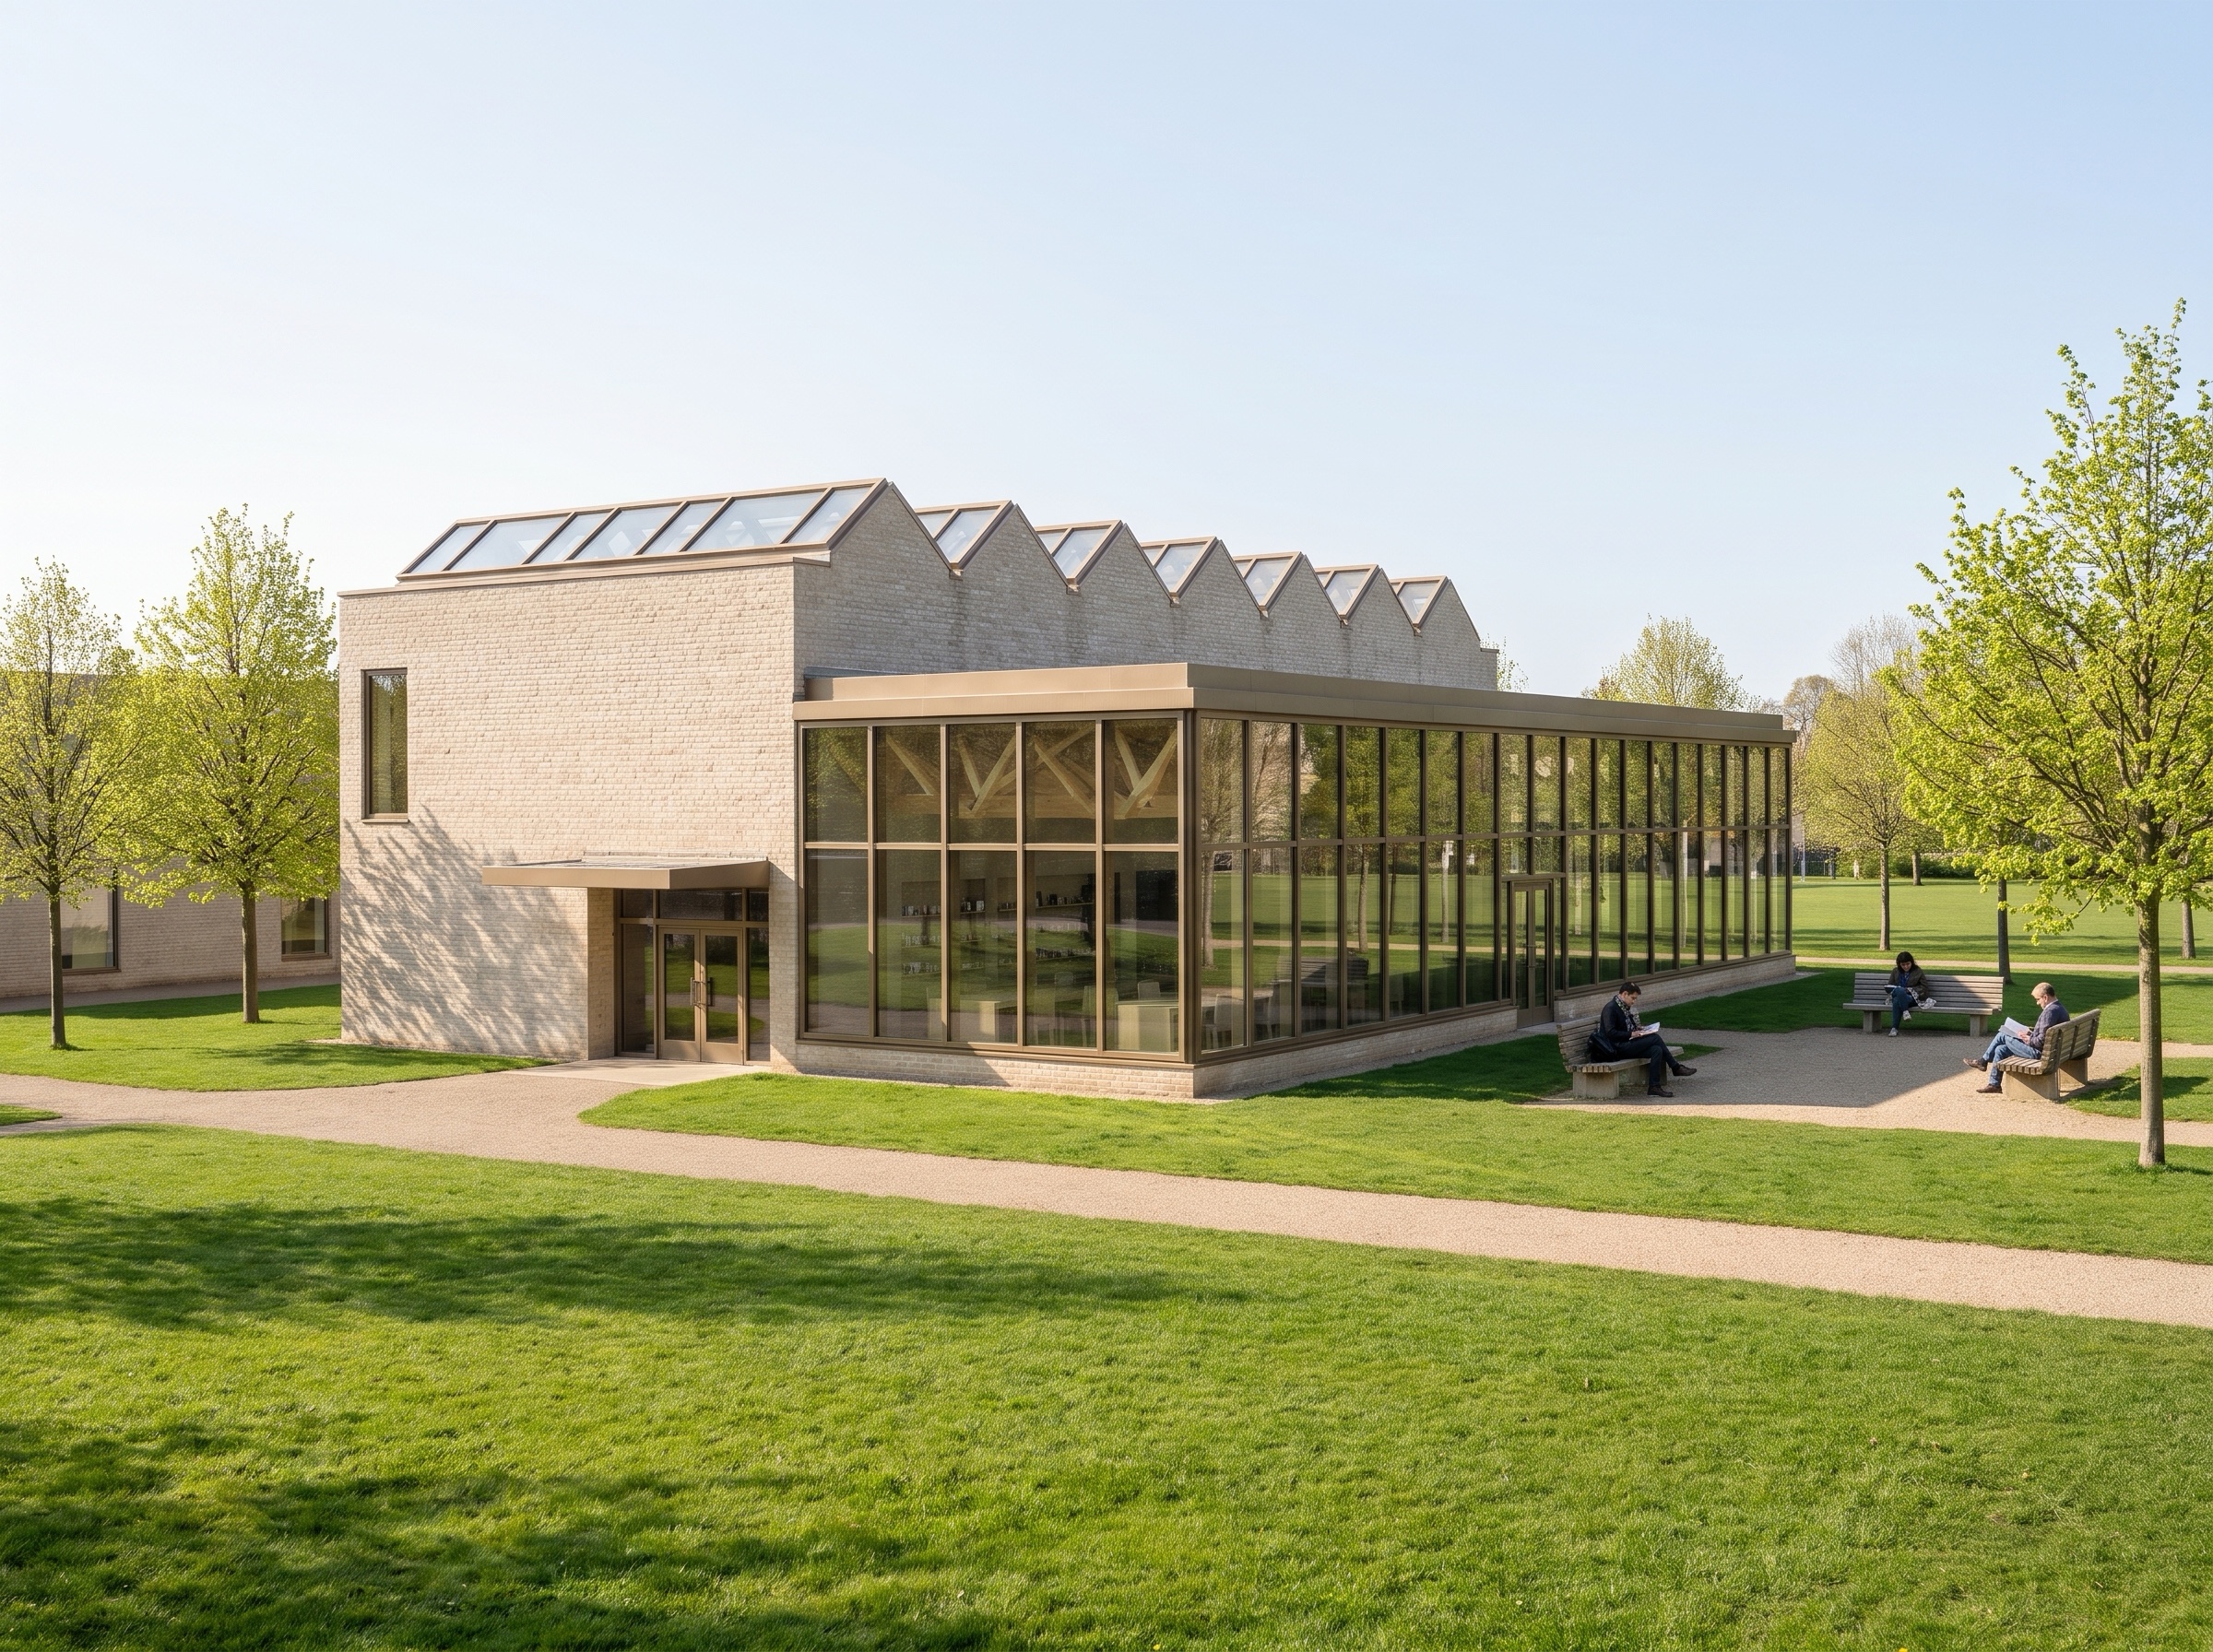
Architecture Render – original imageArchitecture Render – generated result
Example result

How AI architectural rendering works

  1. Upload a view of your building

    Export a Revit 3D view, a Rhino or SketchUp viewport, a white model, a line drawing or a hand sketch, or take a photo of a physical model. Drag or paste it into the first upload box.

  2. Add a material reference (optional)

    Upload a facade photo to steer materials and colors. Lovspark AI takes the look from it, never the shape. Skip it and the AI chooses materials that suit the design.

  3. Generate the AI render

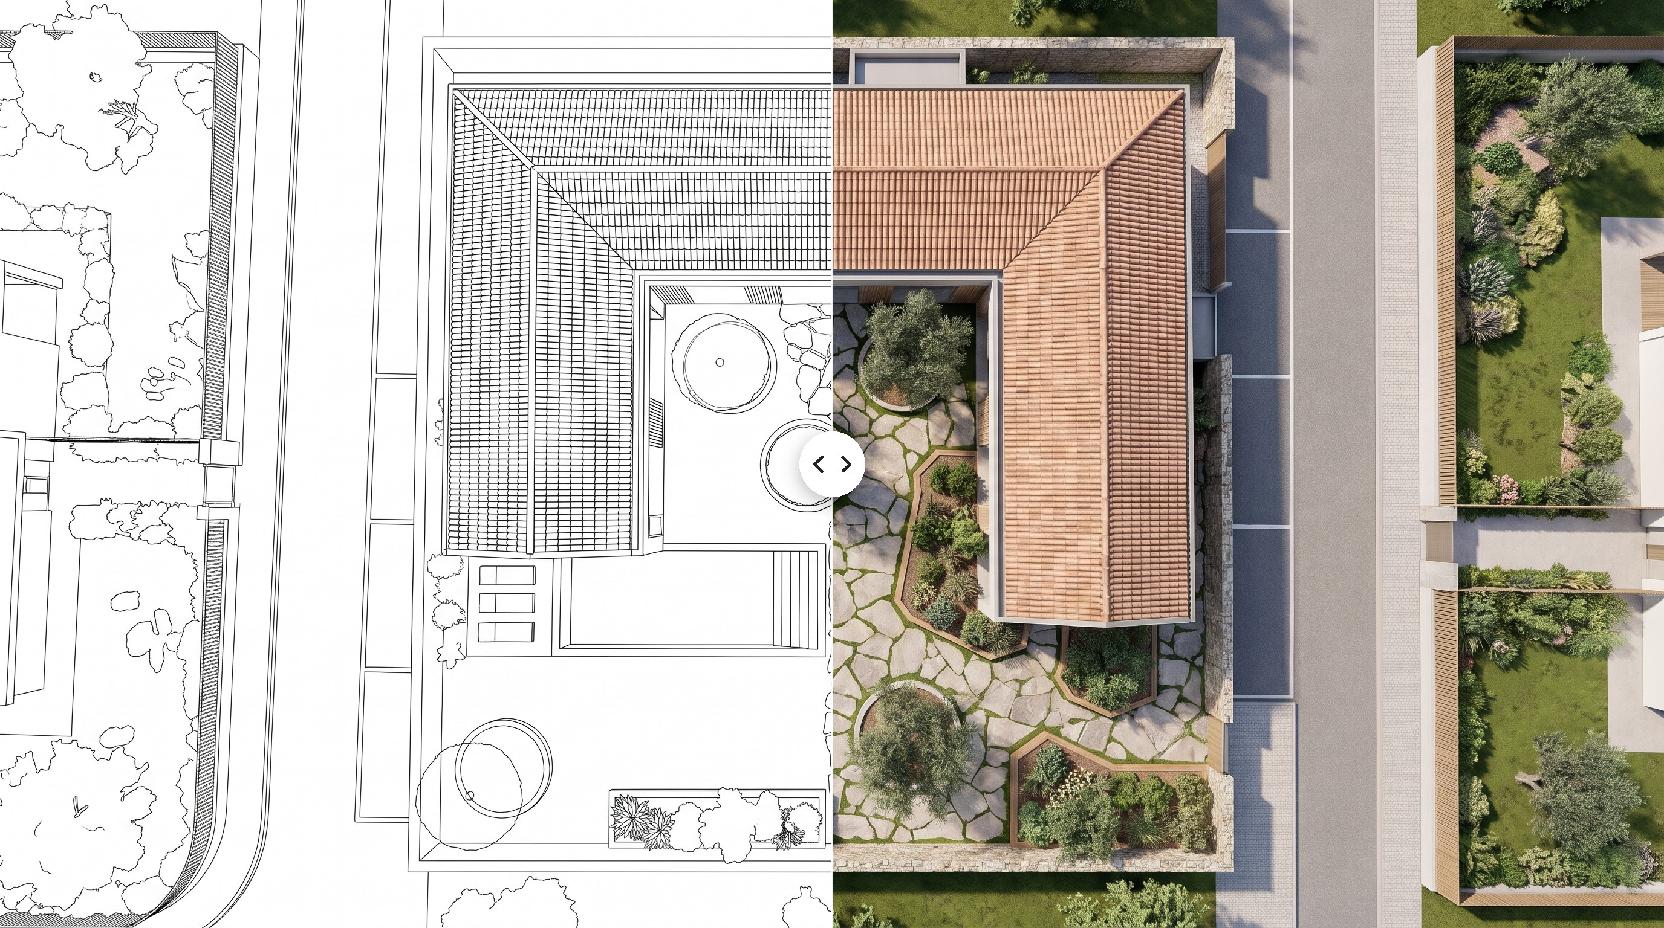
    Click Generate. Lovspark AI keeps your massing, roof, windows and camera, then adds materials, lighting, landscape and street context around the building.

  4. Compare and run again

    Check the AI render against your drawing, then try another reference photo or a different view. Every run uses the same two inputs, so options stay easy to compare.

Eight buildings, from model to AI render

Drag the line to compare · click to enlarge

SketchUp model to modern house

A white model becomes a stucco and cedar family house at sunset, with the cantilever, glass doors and garden wall exactly where they were drawn.

Revit view to office building

A flat BIM view turns into a glass and aluminum office corner in midday sun; the fin rhythm and the recessed lobby match the model.

Rhino clay render to museum

The folded roof and deep canopy from a clay render become board-formed concrete and bronze on a rain-washed plaza.

Line drawing to apartment tower

A hidden-line perspective plus a terracotta screen photo gives a Bengaluru tower with jali screens, planted balconies and a street-level podium.

Hand sketch to timber cabin

A quick pencil sketch becomes a charred-timber A-frame in snow at blue hour, with the glass front, deck and chimney kept.

Massing model to school campus

An aerial foam massing model turns into a brick and timber campus with green roofs, a sports field and mature trees.

Model photo to townhouses

A photo of a card and balsa model becomes three brownstone townhouses on an autumn street, with bay windows and stoops unchanged.

White model to desert villa

With a travertine and teak reference, a plain white model becomes a Palm Springs villa at dusk, the pool lit and the glass walls glowing.

What Lovspark AI keeps from your model

Compared onTraditional render workflowLovspark AI rendering
InputA finished 3D model with materials, lights and entourageOne screenshot, sketch, white model or model photo
MaterialsAssign and tune every materialChosen by the AI or taken from a reference photo
ContextModel or buy landscape, people and skyAdded by the AI around your building
Trying optionsRe-texture, re-light and re-render each versionChange the reference photo and generate again

Who uses AI architectural rendering

How to prepare a model for AI architectural rendering

Lovspark AI follows what it can see in your image. A clean view with clear edges, straight verticals and the right camera gives a more faithful AI render than a busy screenshot.

  1. Pick the view first
  2. Revit: export a clean 3D view
  3. Rhino: capture the viewport
  4. SketchUp: hide edges for exteriors
  5. Sketches and model photos
  6. When to add a reference photo
  7. Check before you upload

Pick the view first

The AI keeps your camera, so choose the shot before you export. Eye-level views sell the street experience; aerial views explain the site.

  • Use two-point perspective at about 1.6 m (5 ft) eye height for street views, with vertical lines kept vertical.
  • For campuses and masterplans, use a high aerial angle so roads, courtyards and fields are visible.
  • Leave some ground and sky around the building; a tight crop gives the AI no room for context.

Revit: export a clean 3D view

Revit views carry annotation and section boxes that the AI would try to render, so clean the view before exporting.

  • Use the Shaded or Consistent Colors visual style, or Hidden Line for a line drawing look.
  • Hide grids, levels, tags, section boxes and the crop region.
  • Export with File > Export > Images and Animations > Image, at least 1600 px wide.

Rhino: capture the viewport

A plain display mode reads best. Arctic or Shaded gives the AI clean volumes without distracting colors.

  • Switch the viewport to Arctic, Shaded or Technical display mode.
  • Turn off the grid, axes and construction lines.
  • Use ViewCaptureToFile to save the viewport at a higher resolution than the screen.

SketchUp: hide edges for exteriors

For building exteriors, heavy SketchUp edges can turn into dark outlines in the render. A plain face style keeps the read clean.

  • In Styles, turn off edges and profiles or make them thin and light.
  • Use plain white or light gray materials so the AI is free to choose finishes, or keep only the materials you want to stay.
  • Export with File > Export > 2D Graphic and crop out toolbars and scenes tabs.

Sketches and model photos

Hand sketches and photos of physical models work too, as long as the building outline is clear.

  • Scan or photograph sketches flat and evenly lit, with closed outlines around the main volumes.
  • Photograph physical models at eye level against a plain background, without hands or tools in the frame.
  • Avoid heavy shading or colored markers that could be read as materials you did not intend.

When to add a reference photo

A reference photo controls materials and colors, not the building's shape. Without one, Lovspark AI picks finishes that fit the design.

  • A close-up of the facade material works better than a photo of a whole building.
  • Keep one or two dominant materials in the reference so the result stays coherent.
  • To try a different look, swap the reference photo and generate again instead of editing the model.

Check before you upload

A quick check saves credits and gives a cleaner first result.

  • One building or block per image, with no interface, legend or title block.
  • An image file such as JPG or PNG, at least 1600 px on the long side; you can also paste it.
  • Interiors belong in AI Interior Rendering, which keeps furniture and room layout.
FAQ

AI Architectural Rendering FAQ

01/What is AI architectural rendering?

AI architectural rendering turns a model view, white model, line drawing or hand sketch into a photoreal image of the building without setting up a render engine. In Lovspark you upload that view, and optionally a material reference photo; Lovspark AI keeps the massing, openings and camera and adds materials, lighting and surroundings.

02/Which files can I upload?

Any image of the building: a screenshot or export from Revit, Rhino, SketchUp, Archicad or another 3D tool, a white or clay model, a line drawing, a hand sketch or a photo of a physical model. Upload an image file such as JPG or PNG, or paste it into the upload box. Native model files are not uploaded directly.

03/Will the AI change my design?

Lovspark AI is told to keep the geometry, roof shape, window and door positions and the camera from your image. Small details that are unclear in the drawing can be simplified or reinterpreted, so check the AI render against your model before you share it, and clean up the view if something drifts.

04/Do I need a reference photo?

No. The reference upload is optional. Without it, Lovspark AI chooses materials and colors that suit the design. Add a facade or material photo when you want a specific look, such as brick, travertine or timber; the AI uses the photo's materials, not its building shape.

05/Can I choose the time of day or the weather?

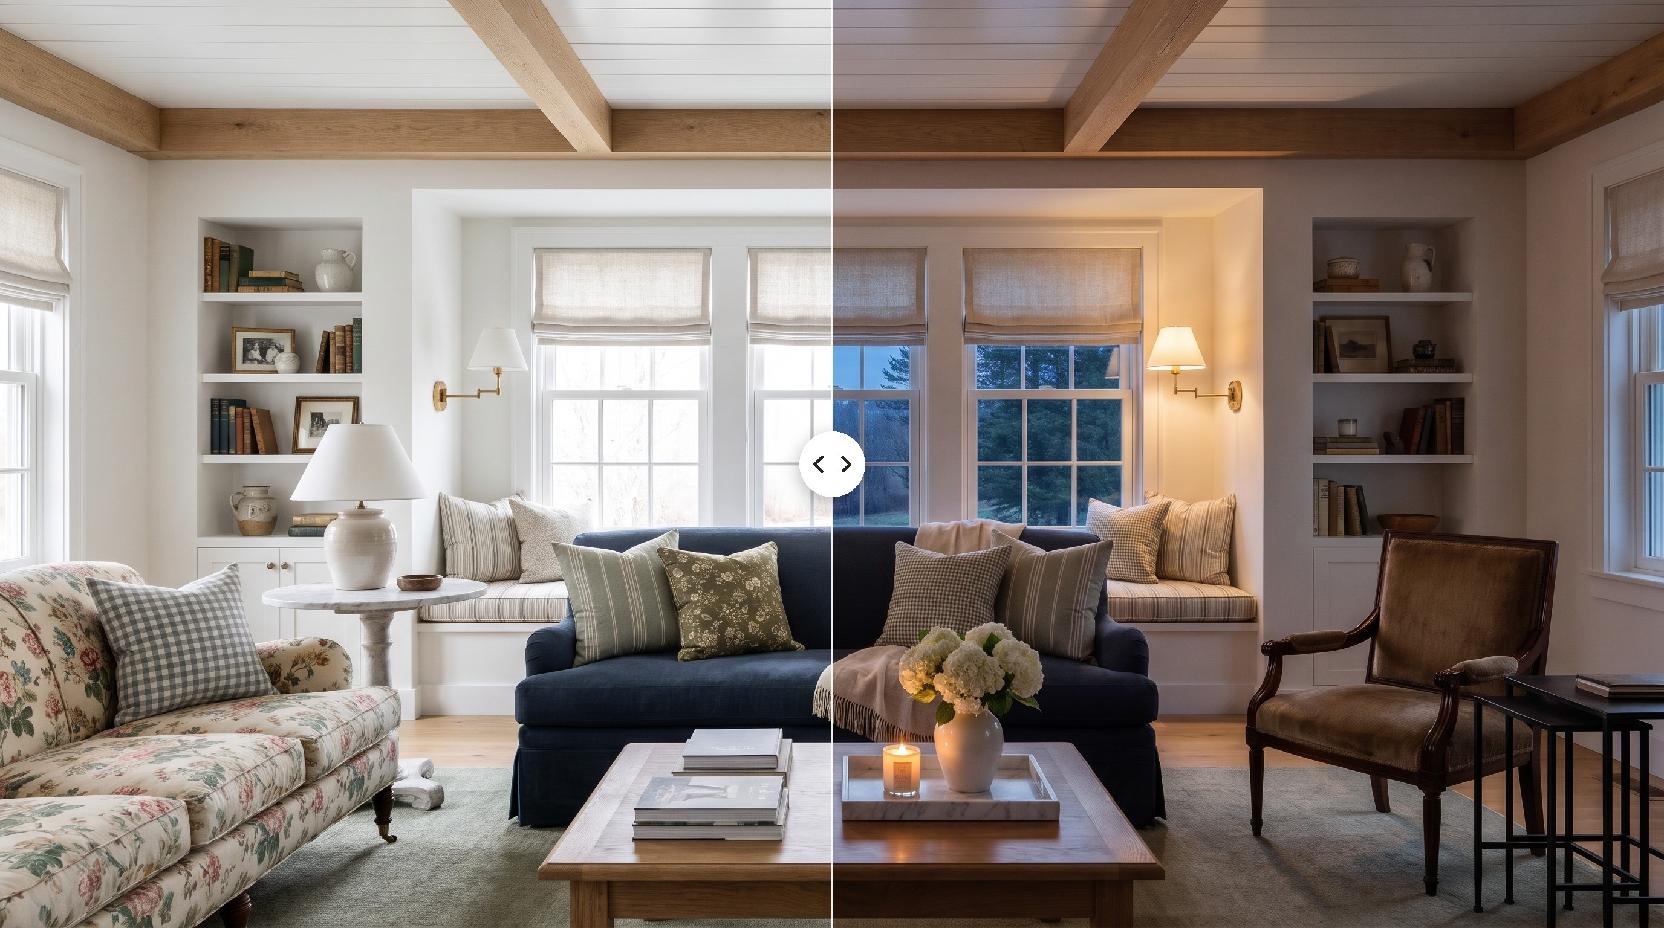
This skill has no text prompt, so lighting, sky and season are chosen by Lovspark AI for each run. You can steer the look with the reference photo and run again for a different result. For deliberate day-to-night or seasonal changes, use Ambience Shift on an existing render.

06/Can it render interiors?

This page is for building exteriors, aerials and street views. For rooms, use AI Interior Rendering, which keeps furniture layout and takes materials and lighting from a style photo.

07/How is this different from V-Ray, Enscape or Lumion?

A render engine needs a complete 3D scene with materials, lights and entourage, and gives precise control. Lovspark AI works from a single image and fills in materials and context for you, which suits early design, option studies and quick client previews. Many teams use both.

08/Is an AI render accurate enough for clients or planning?

An AI render is a visualization for concept and presentation work. It is not a measured drawing, and materials or details may differ from the final specification. Label it as an AI visualization and keep drawings and approved specifications as the source of truth.

09/How many credits does it use?

Each AI architectural render on Lovspark uses 30 credits. New accounts get free credits to try it, and the cost shows on the Generate button before you run.

10/What if the result is not right?

Clean the input first: crop out interface elements, hide annotation and lines, and keep verticals straight. Then try a closer material reference or a different camera view, and generate again. Clear, simple inputs give the most faithful AI renders.
Guides and tips

More AI design skills

Browse all skills

AI Architectural Rendering

A model shows the building, not how it will feel on its street. Upload a view to Lovspark, add a reference photo if you like, and let Lovspark AI render the materials, light and setting.

24 AI design skills · 16 image and video models