How furniture placement works in Lovspark
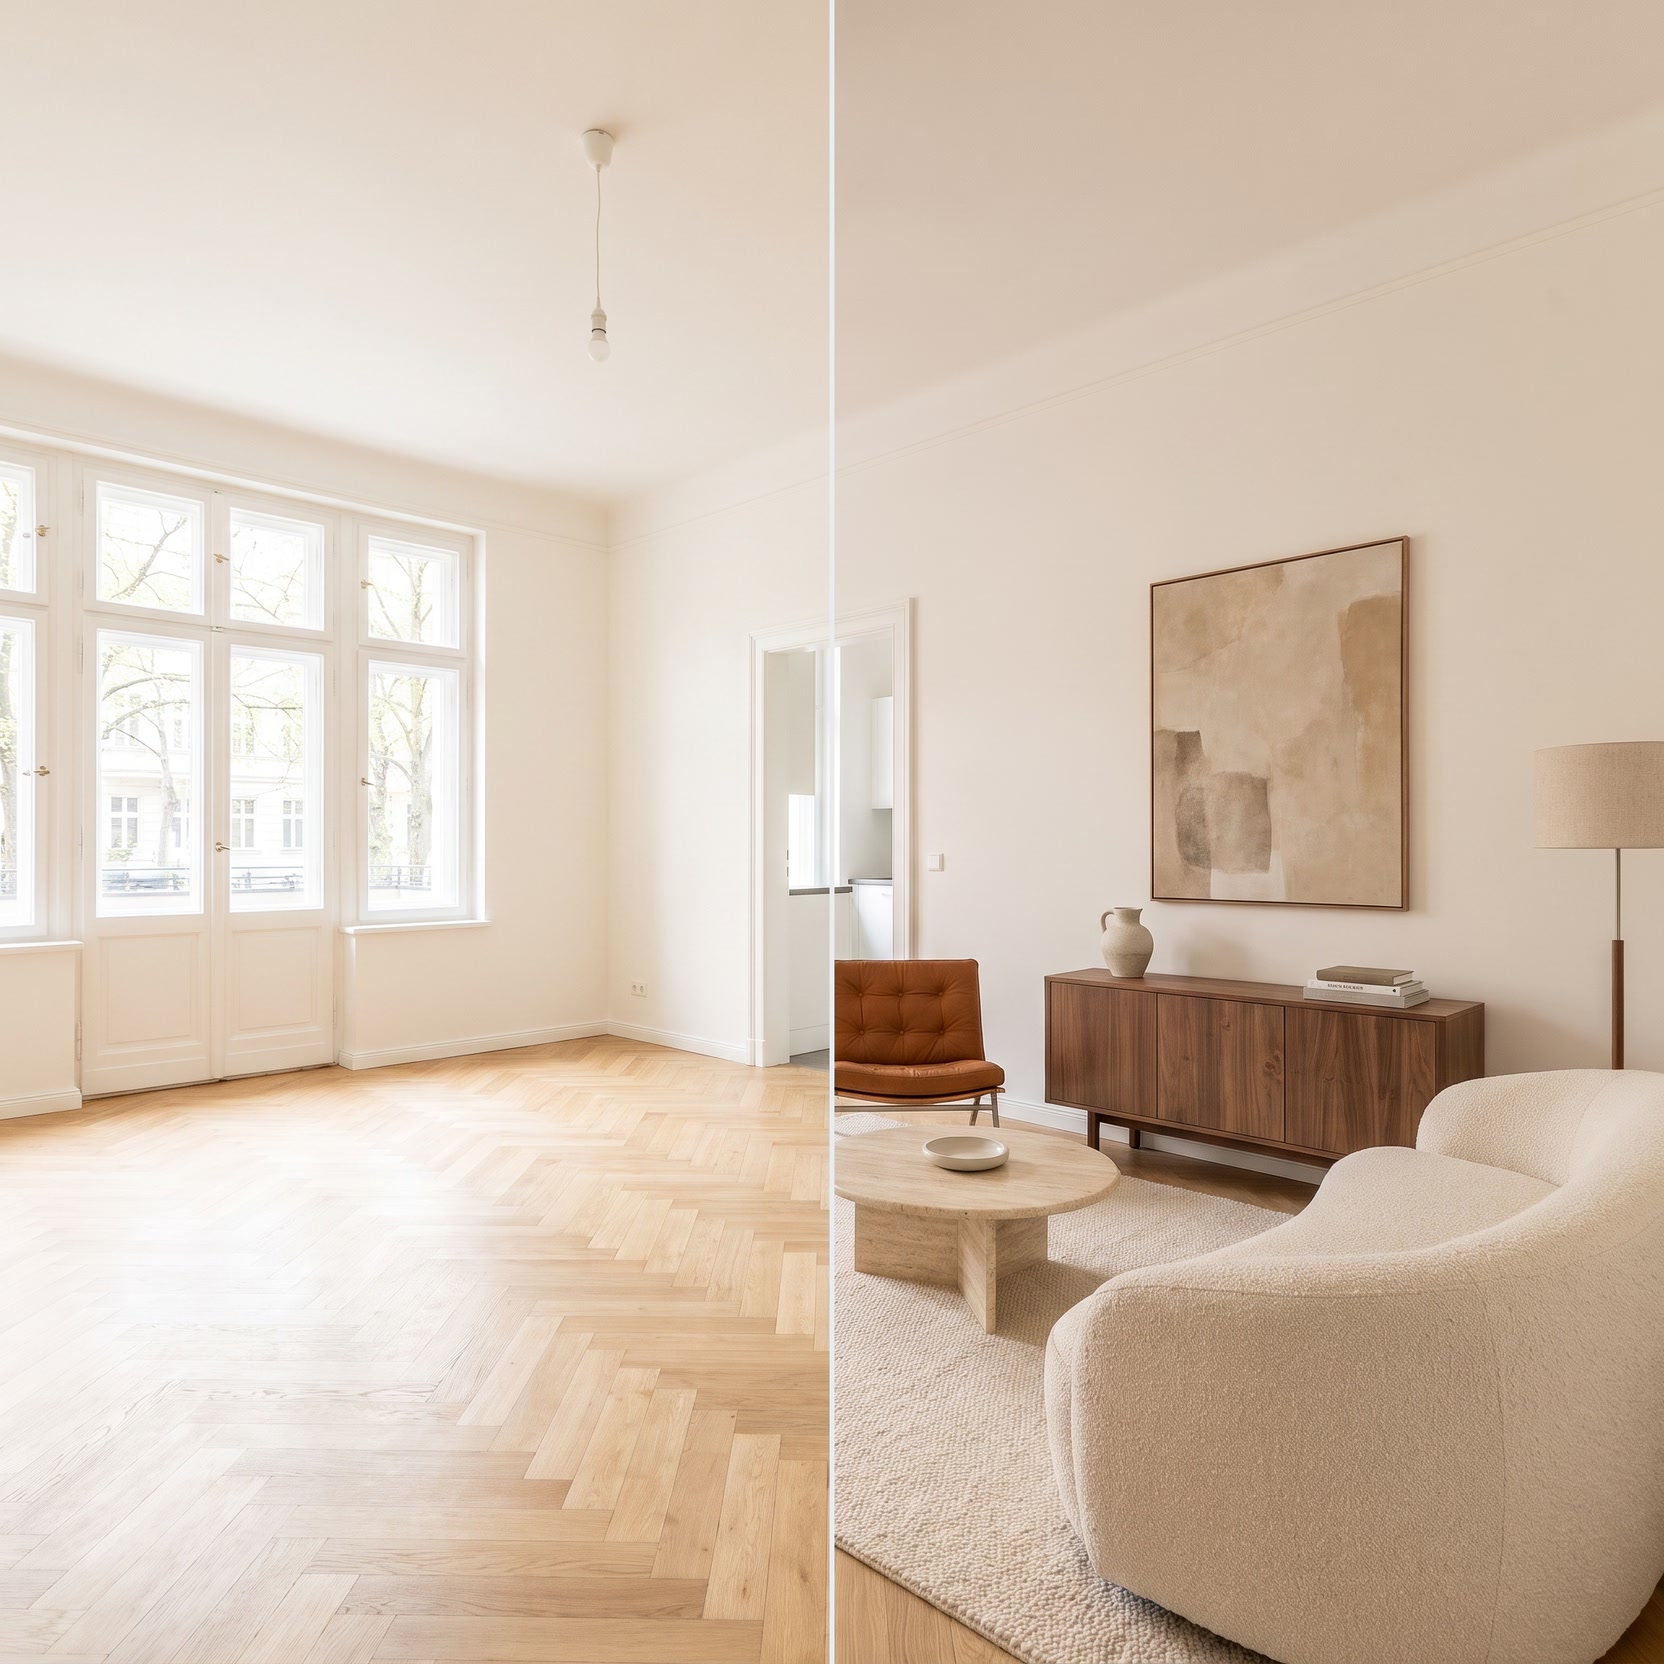
You mark the spots, give one product photo per marker, and Lovspark AI places each product there. It follows the camera angle, scale and light of your photo; walls, floors and anything you did not mark stay the same.
This is different from AI virtual staging, where the AI chooses furniture to fit a style. Here you choose the exact products, so it suits shortlists, client specs and product catalogs.
Choose good product photos
The product photo is Lovspark’s only source for the design, so a clean catalog shot gives the most faithful result.
- Use a photo on a plain white or light background.
- Show the whole product, with nothing cropped off.
- Pick a view close to your room photo’s angle; a three-quarter view suits most furniture.
- Remove text, badges and watermarks.
Using it as a rug visualizer
For a rug, use a flat, top-down photo of the whole rug and put the marker on the open floor where it should lie. Lovspark lays it in perspective and tucks it under sofa and chair legs. Check the size against the room: in a living room, the front legs of the sofa and chairs usually sit on the rug.
Lighting, wall art and decor
Mark the ceiling above a table for a pendant or chandelier, the wall above a bed or sofa for art, and a tabletop or floor spot for a lamp. Large art usually looks right at about two-thirds of the width of the piece below it.
Get the scale right
Lovspark estimates size from the room, so give it a fair spot: mark where the product really fits, and avoid asking for a large sofa in a tight corner. If a piece looks too big or too small, move the marker or try a product photo taken from a similar angle.
Common mistakes
Most poor results come from the product photo or the markers. Check these before you run it again.
- Product photos with busy backgrounds or other items in them.
- Markers numbered in a different order from the product photos.
- Room photos that are very dark or shot from a very high or low angle.
- A product that is far too big for the marked spot.
Before you upload
Check these four things; a minute here saves a wasted run.
- Shoot the room at eye level, in daylight or with the lights on.
- Clear the spot where the new piece will go.
- Mark one spot per product, numbered in the order you upload the photos.
- Keep the original photo so you can compare.