
What is Targeted Material Swap?
Direct answerChange the finish on a chosen area with a target material reference — no full remodel of the scene.
Lovspark Targeted Material Swap supports controlled finish iteration on spaces you've already designed.
Use it when the layout is approved and you only need to explore cladding, flooring, or furniture finishes.
Because the rest of the frame stays put, side-by-side comparisons stay fair for clients and design reviews.
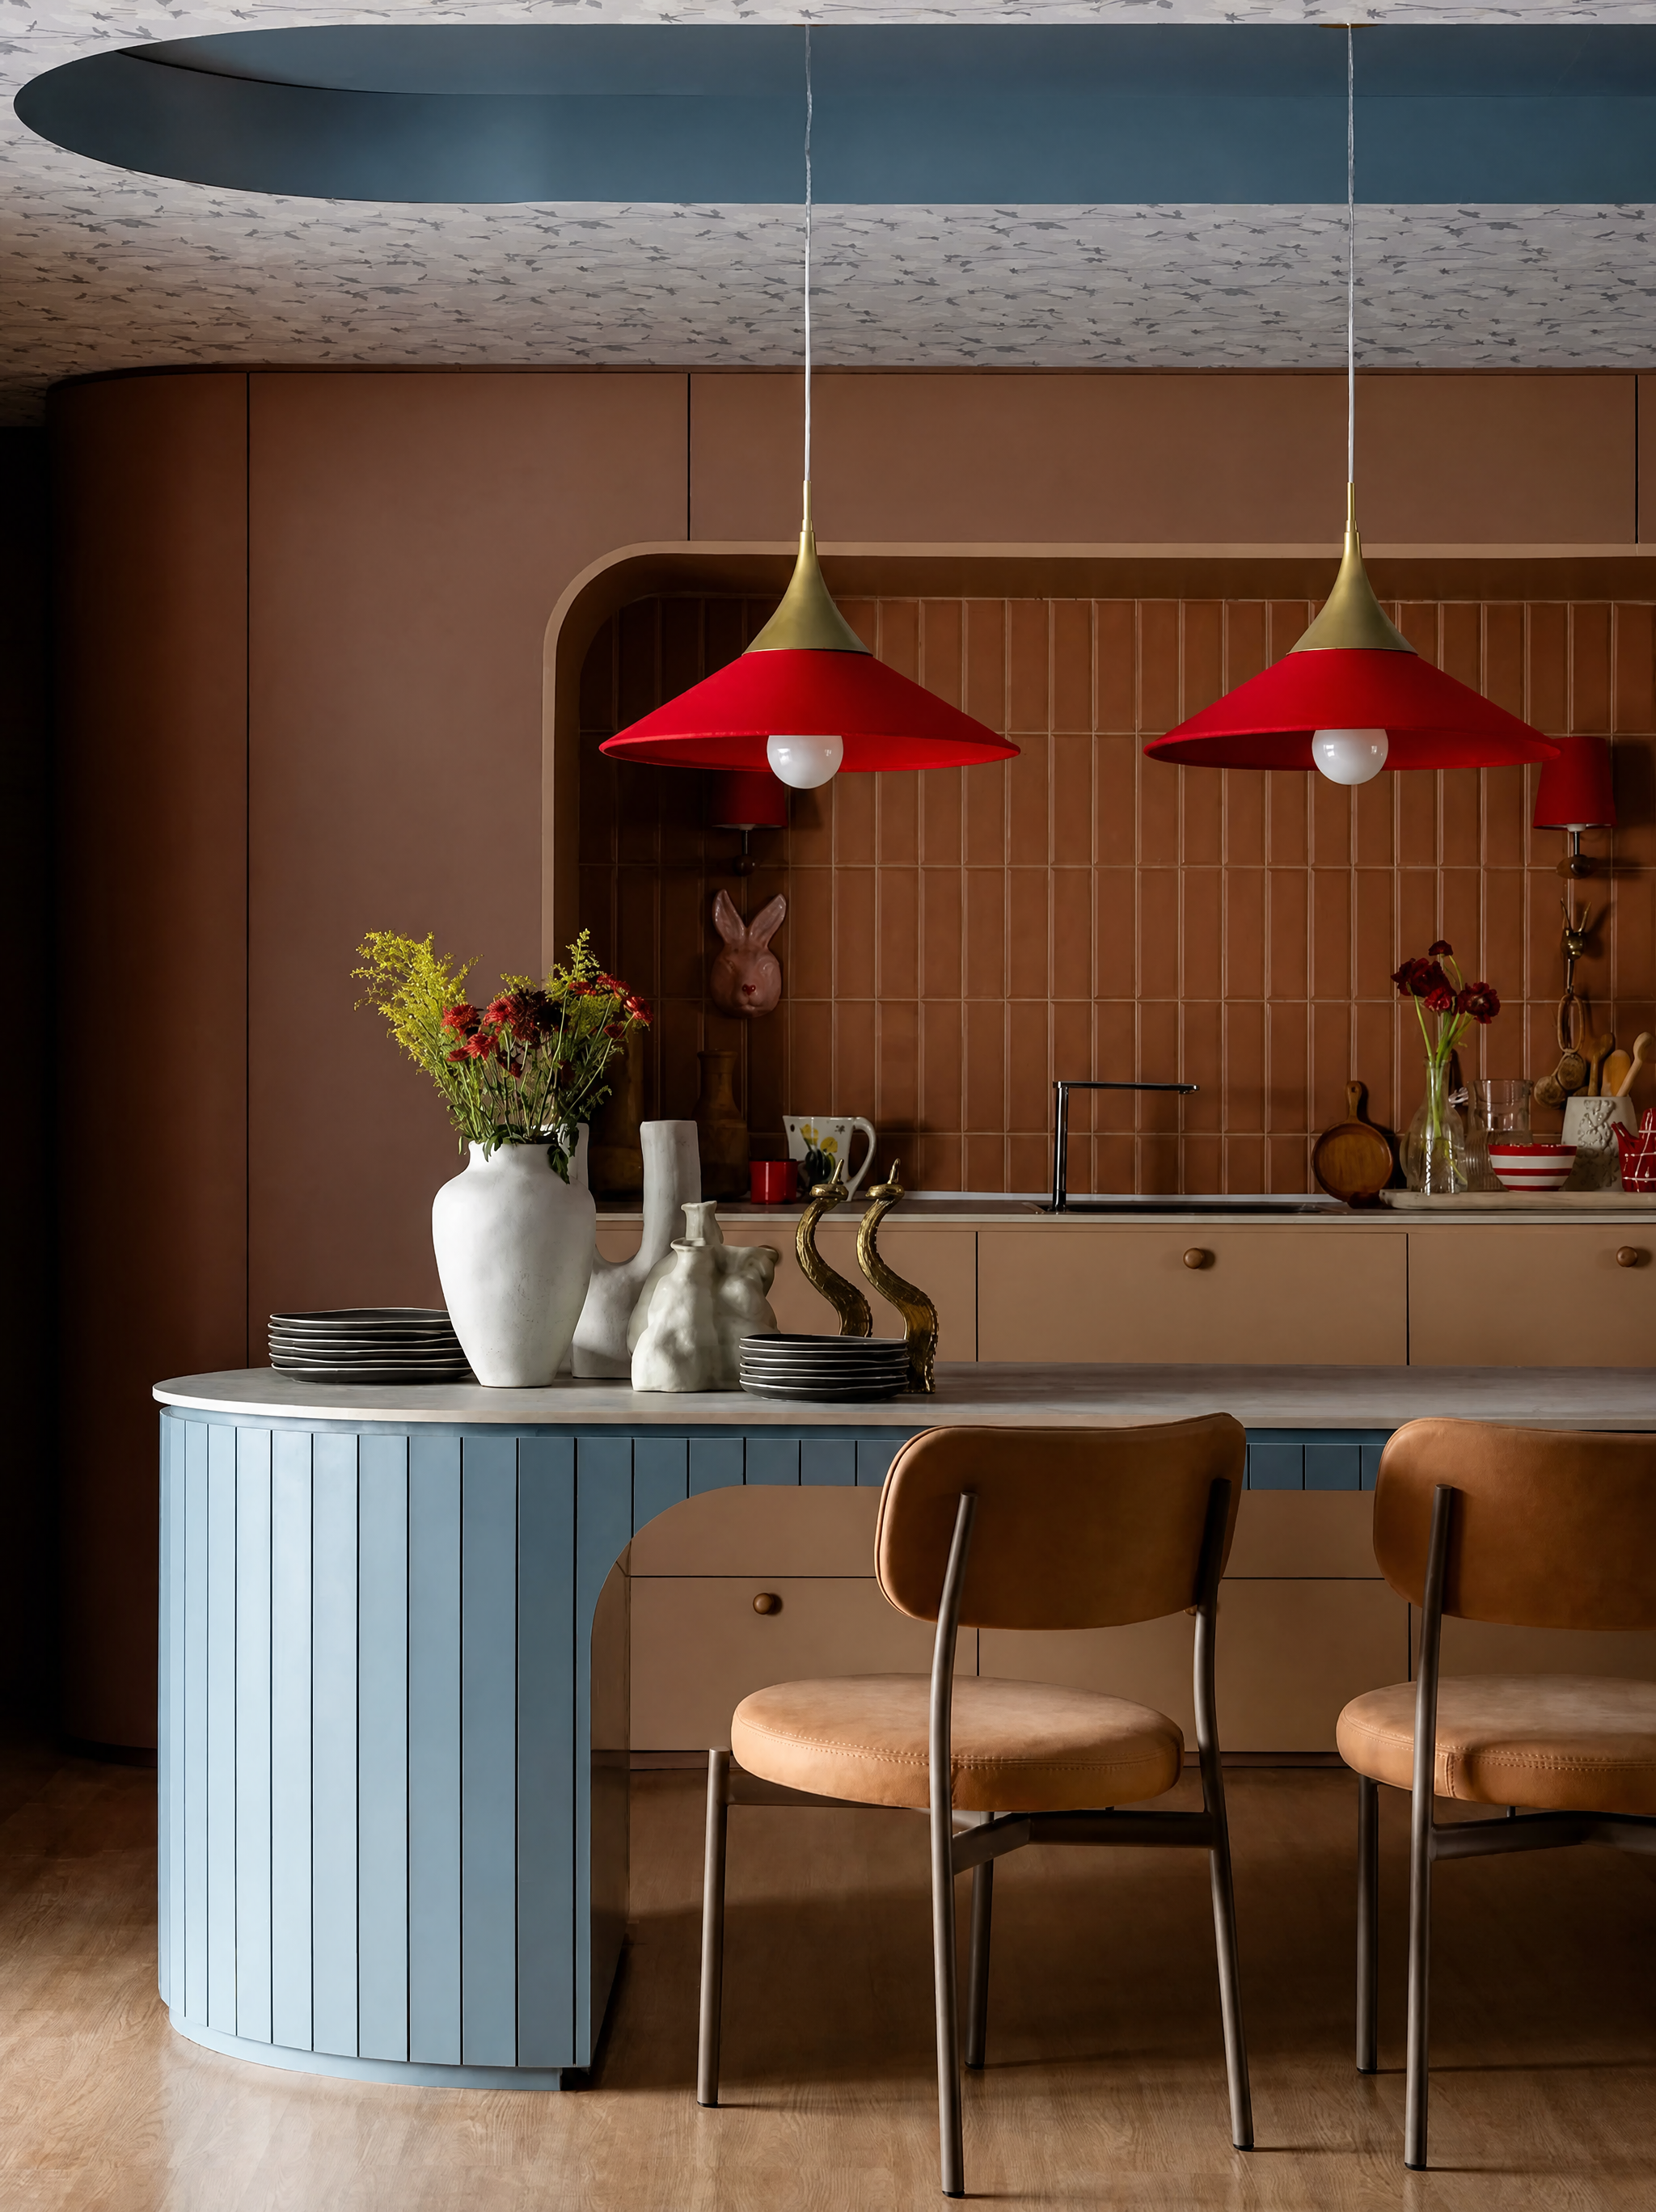
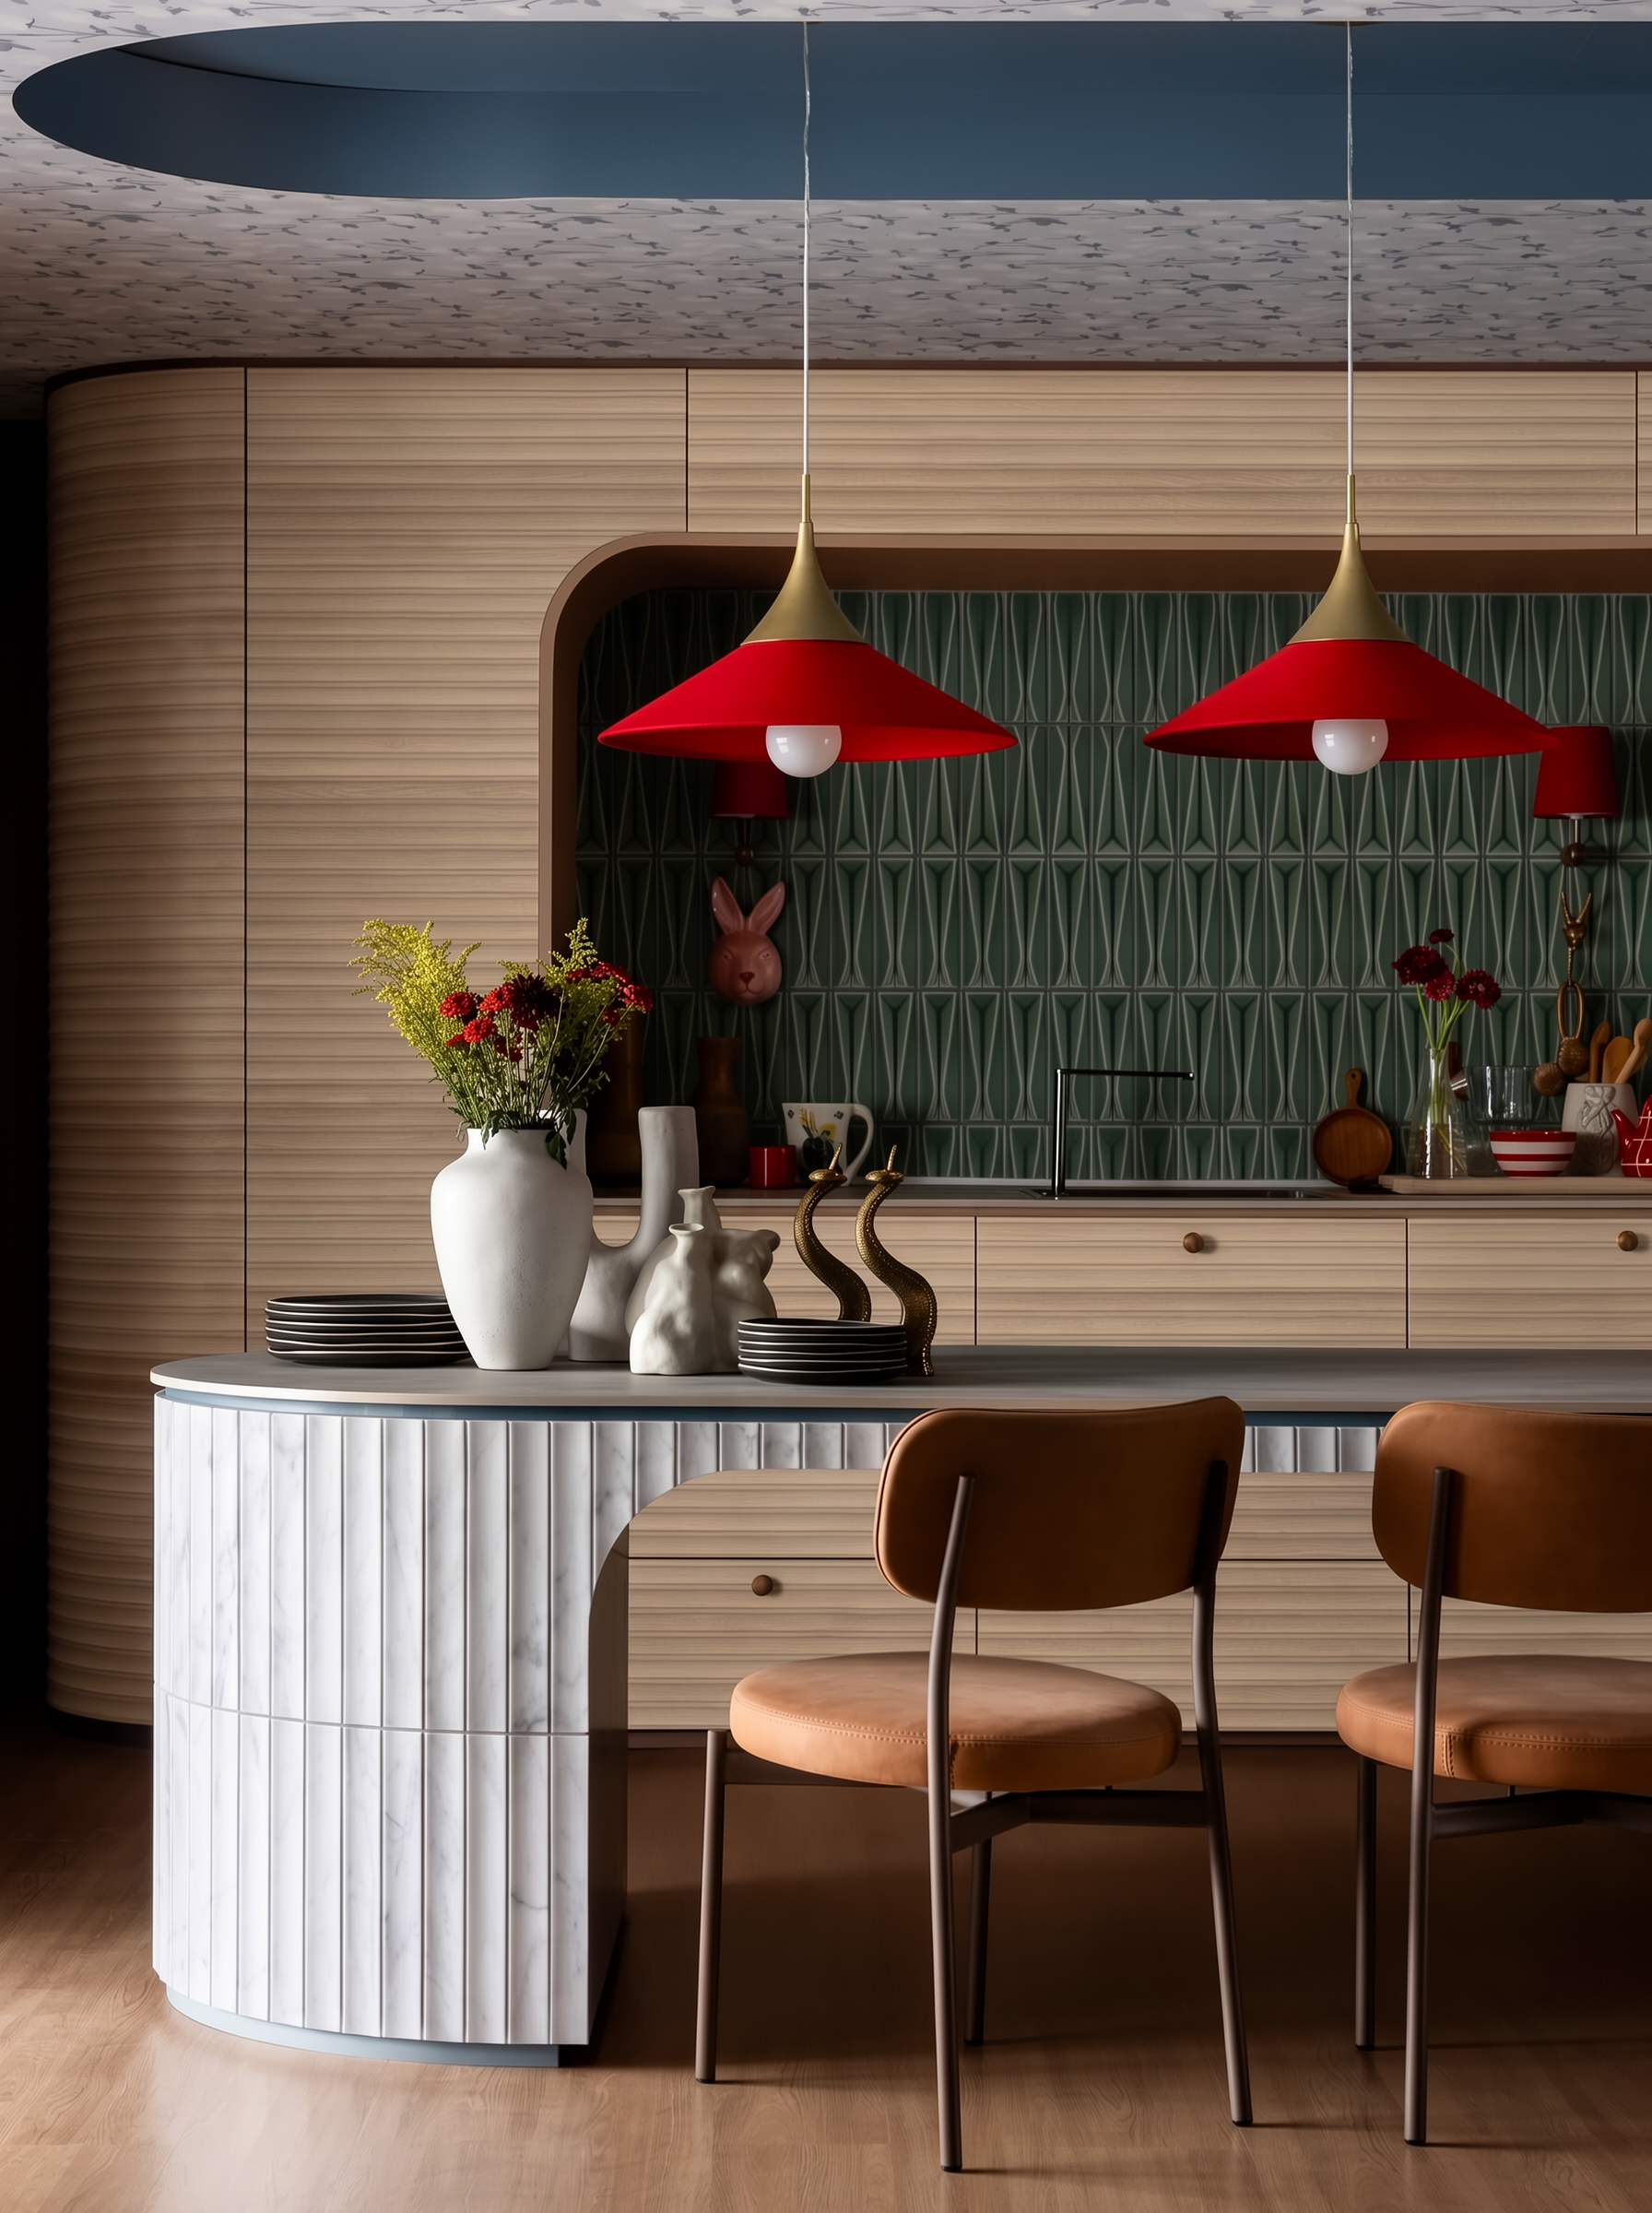
| Input | 1 designed interior/exterior image |
|---|---|
| Material images | Target material image set |
| Output | Same scene with updated finish |
| Preserves | Structure, camera, and surrounding detail |
| Best for | Finish boards, option studies, late-stage tweaks |
- Rendered interiors with clear material regions
- Facade images needing cladding alternatives
- Furniture or joinery close-ups
Updated by the Lovspark Product Team, based on the live product and real project examples.
Sources: Lovspark product documentation · Lovspark Academy
Targeted Material Swap feature panel
Open Skills library and choose Targeted Material Swap. Upload the scene, mark each region to replace, then upload up to seven target-material images in marker order and generate all matched replacements together.
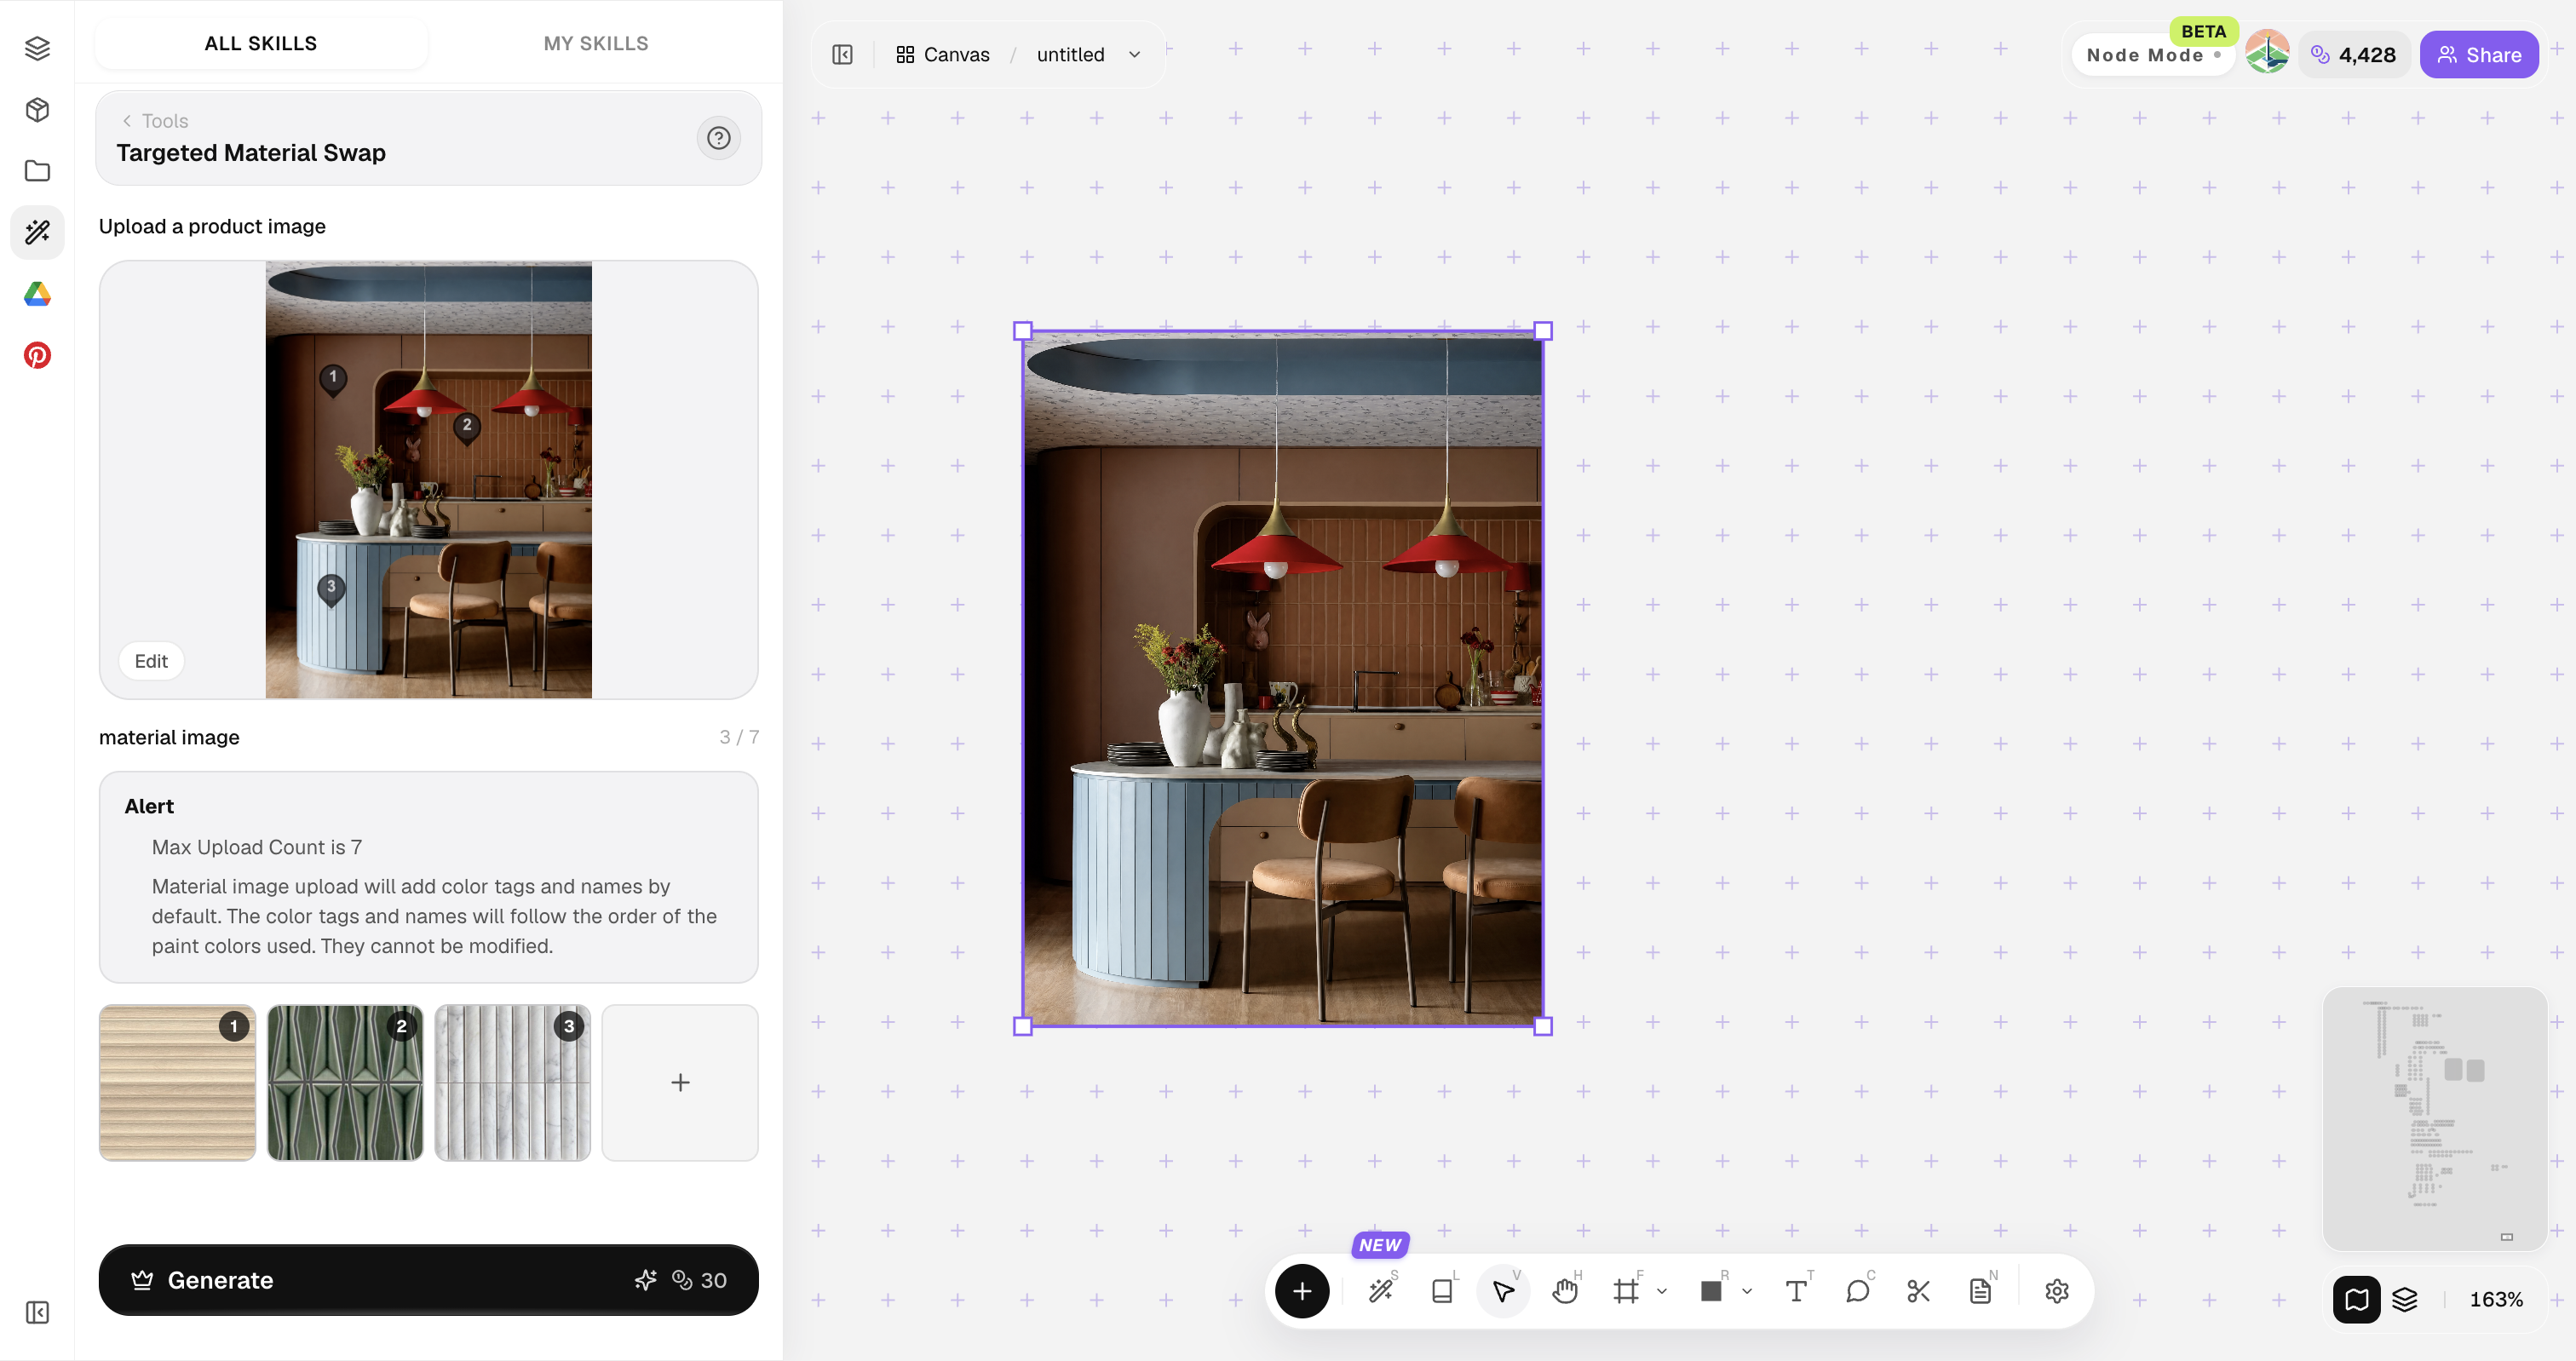
Crop or mark regions with clear boundaries so material edges stay crisp.
How to use Targeted Material Swap
Four steps to mark multiple regions, match materials in order, and generate the replacement.
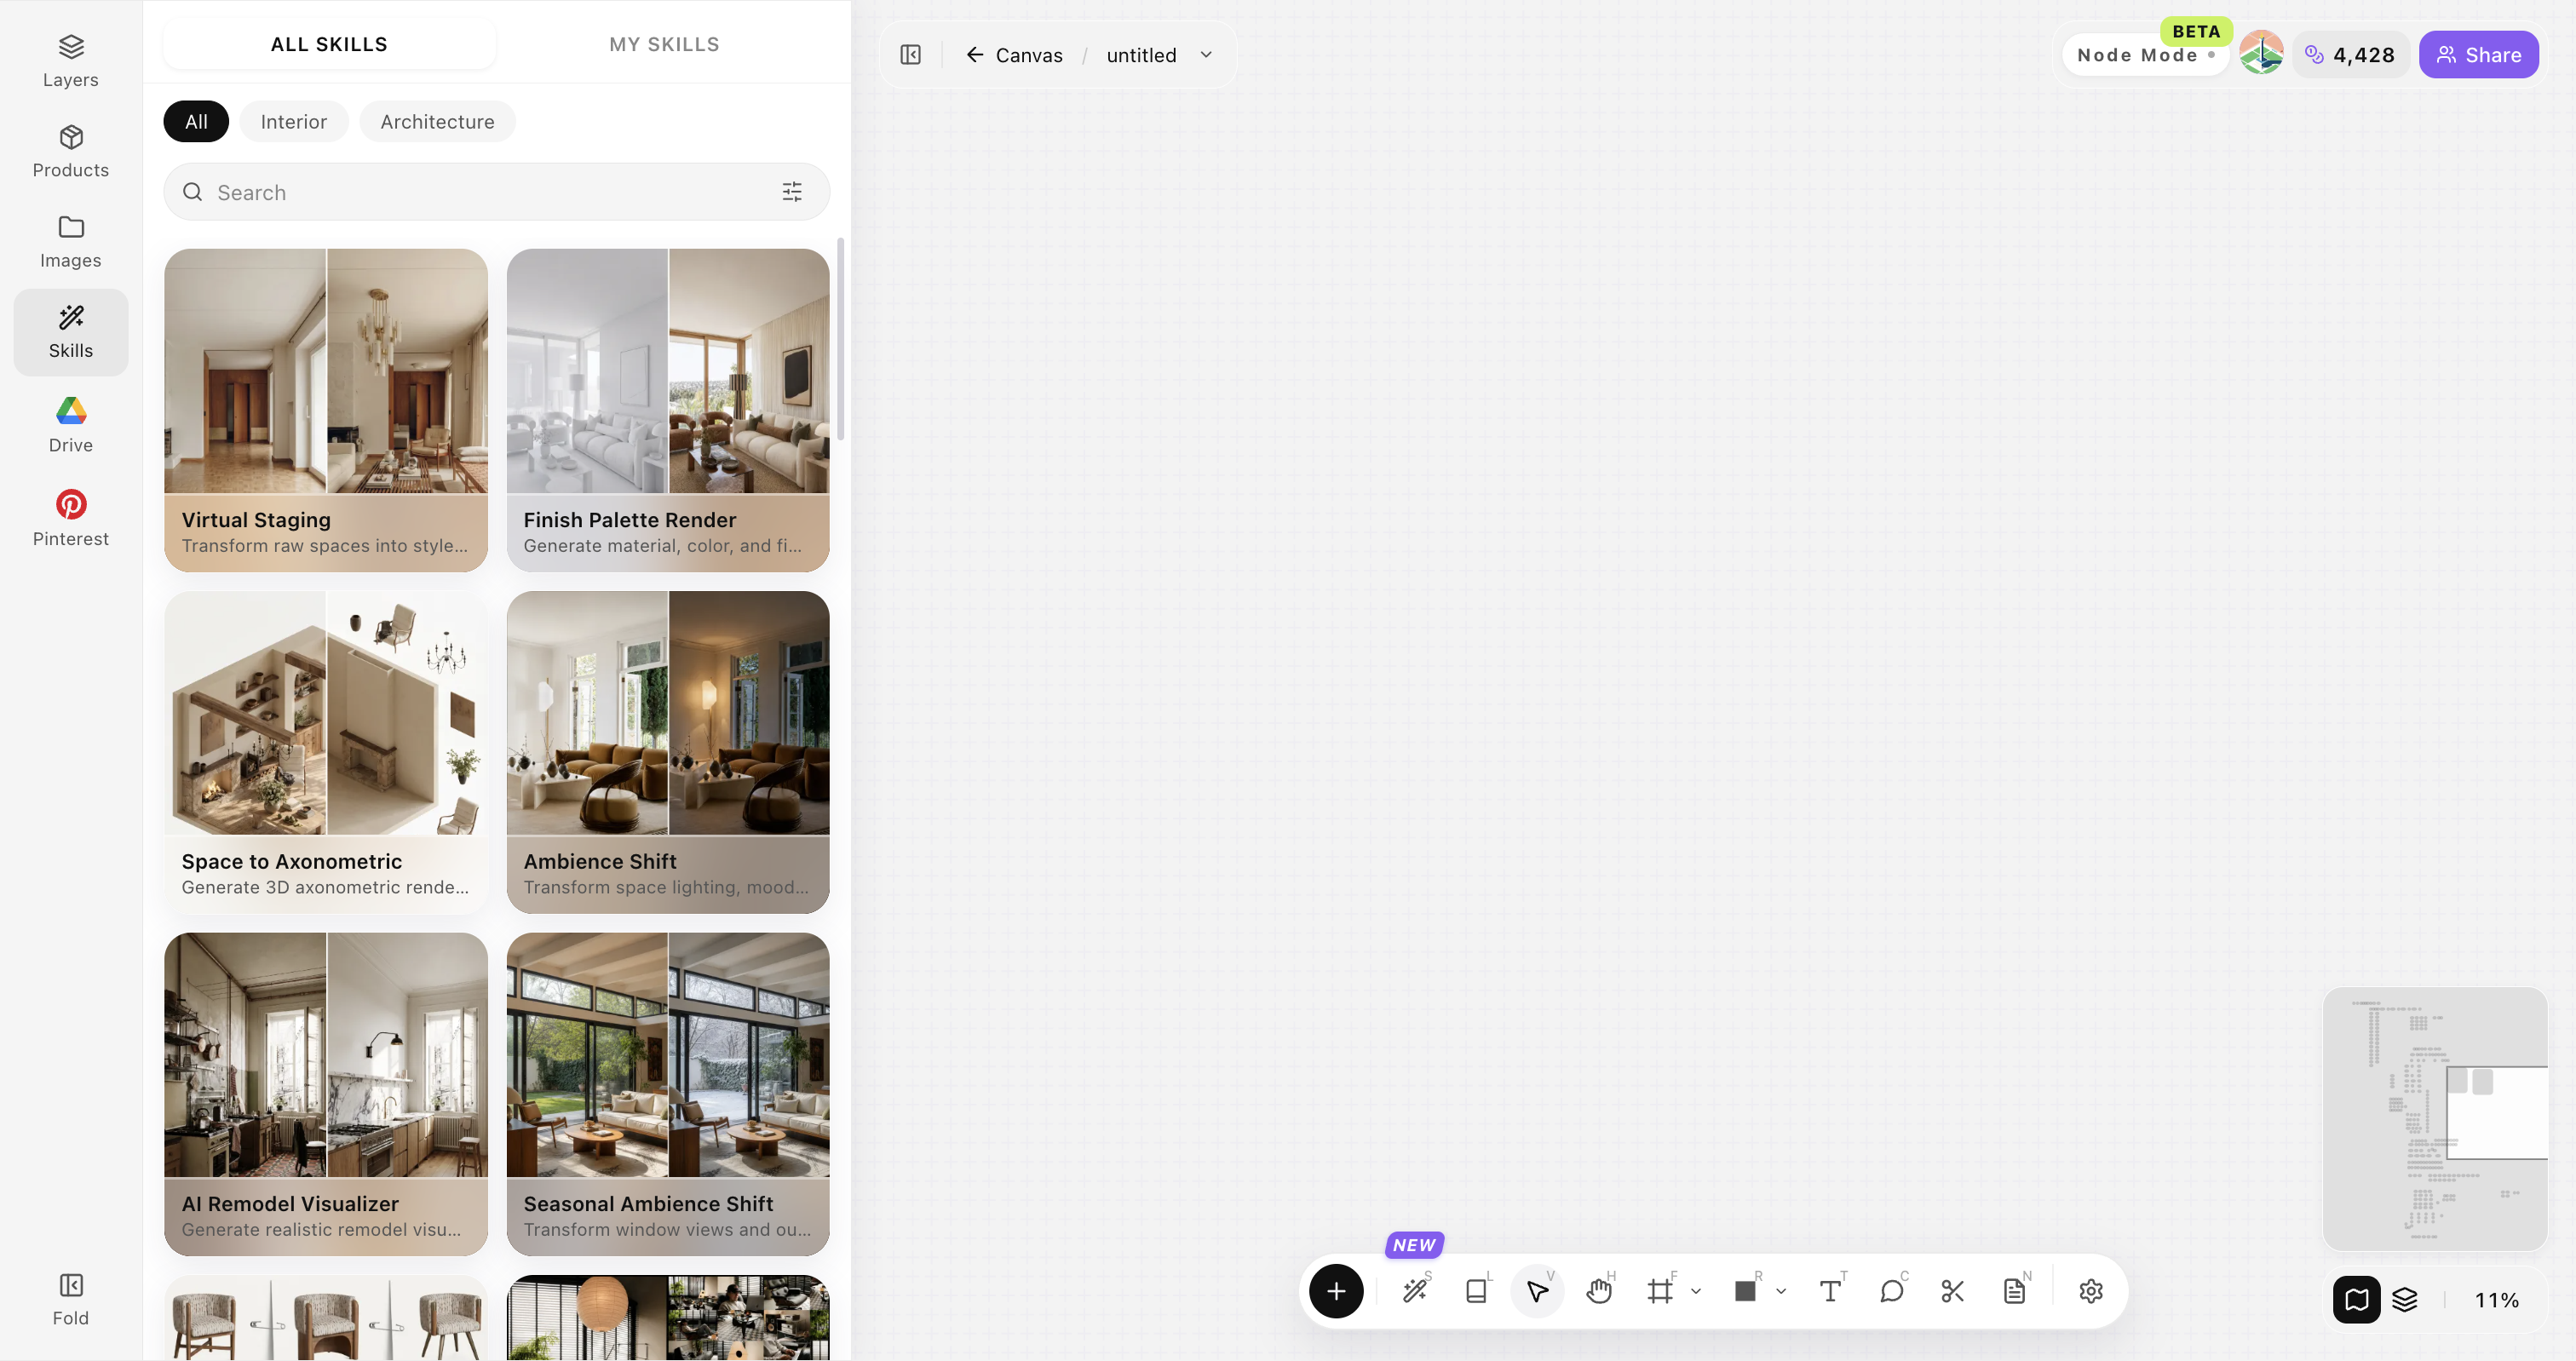
Open Skills library and choose Targeted Material Swap
Open Skills library, then choose Targeted Material Swap from the skill list to start this workflow.
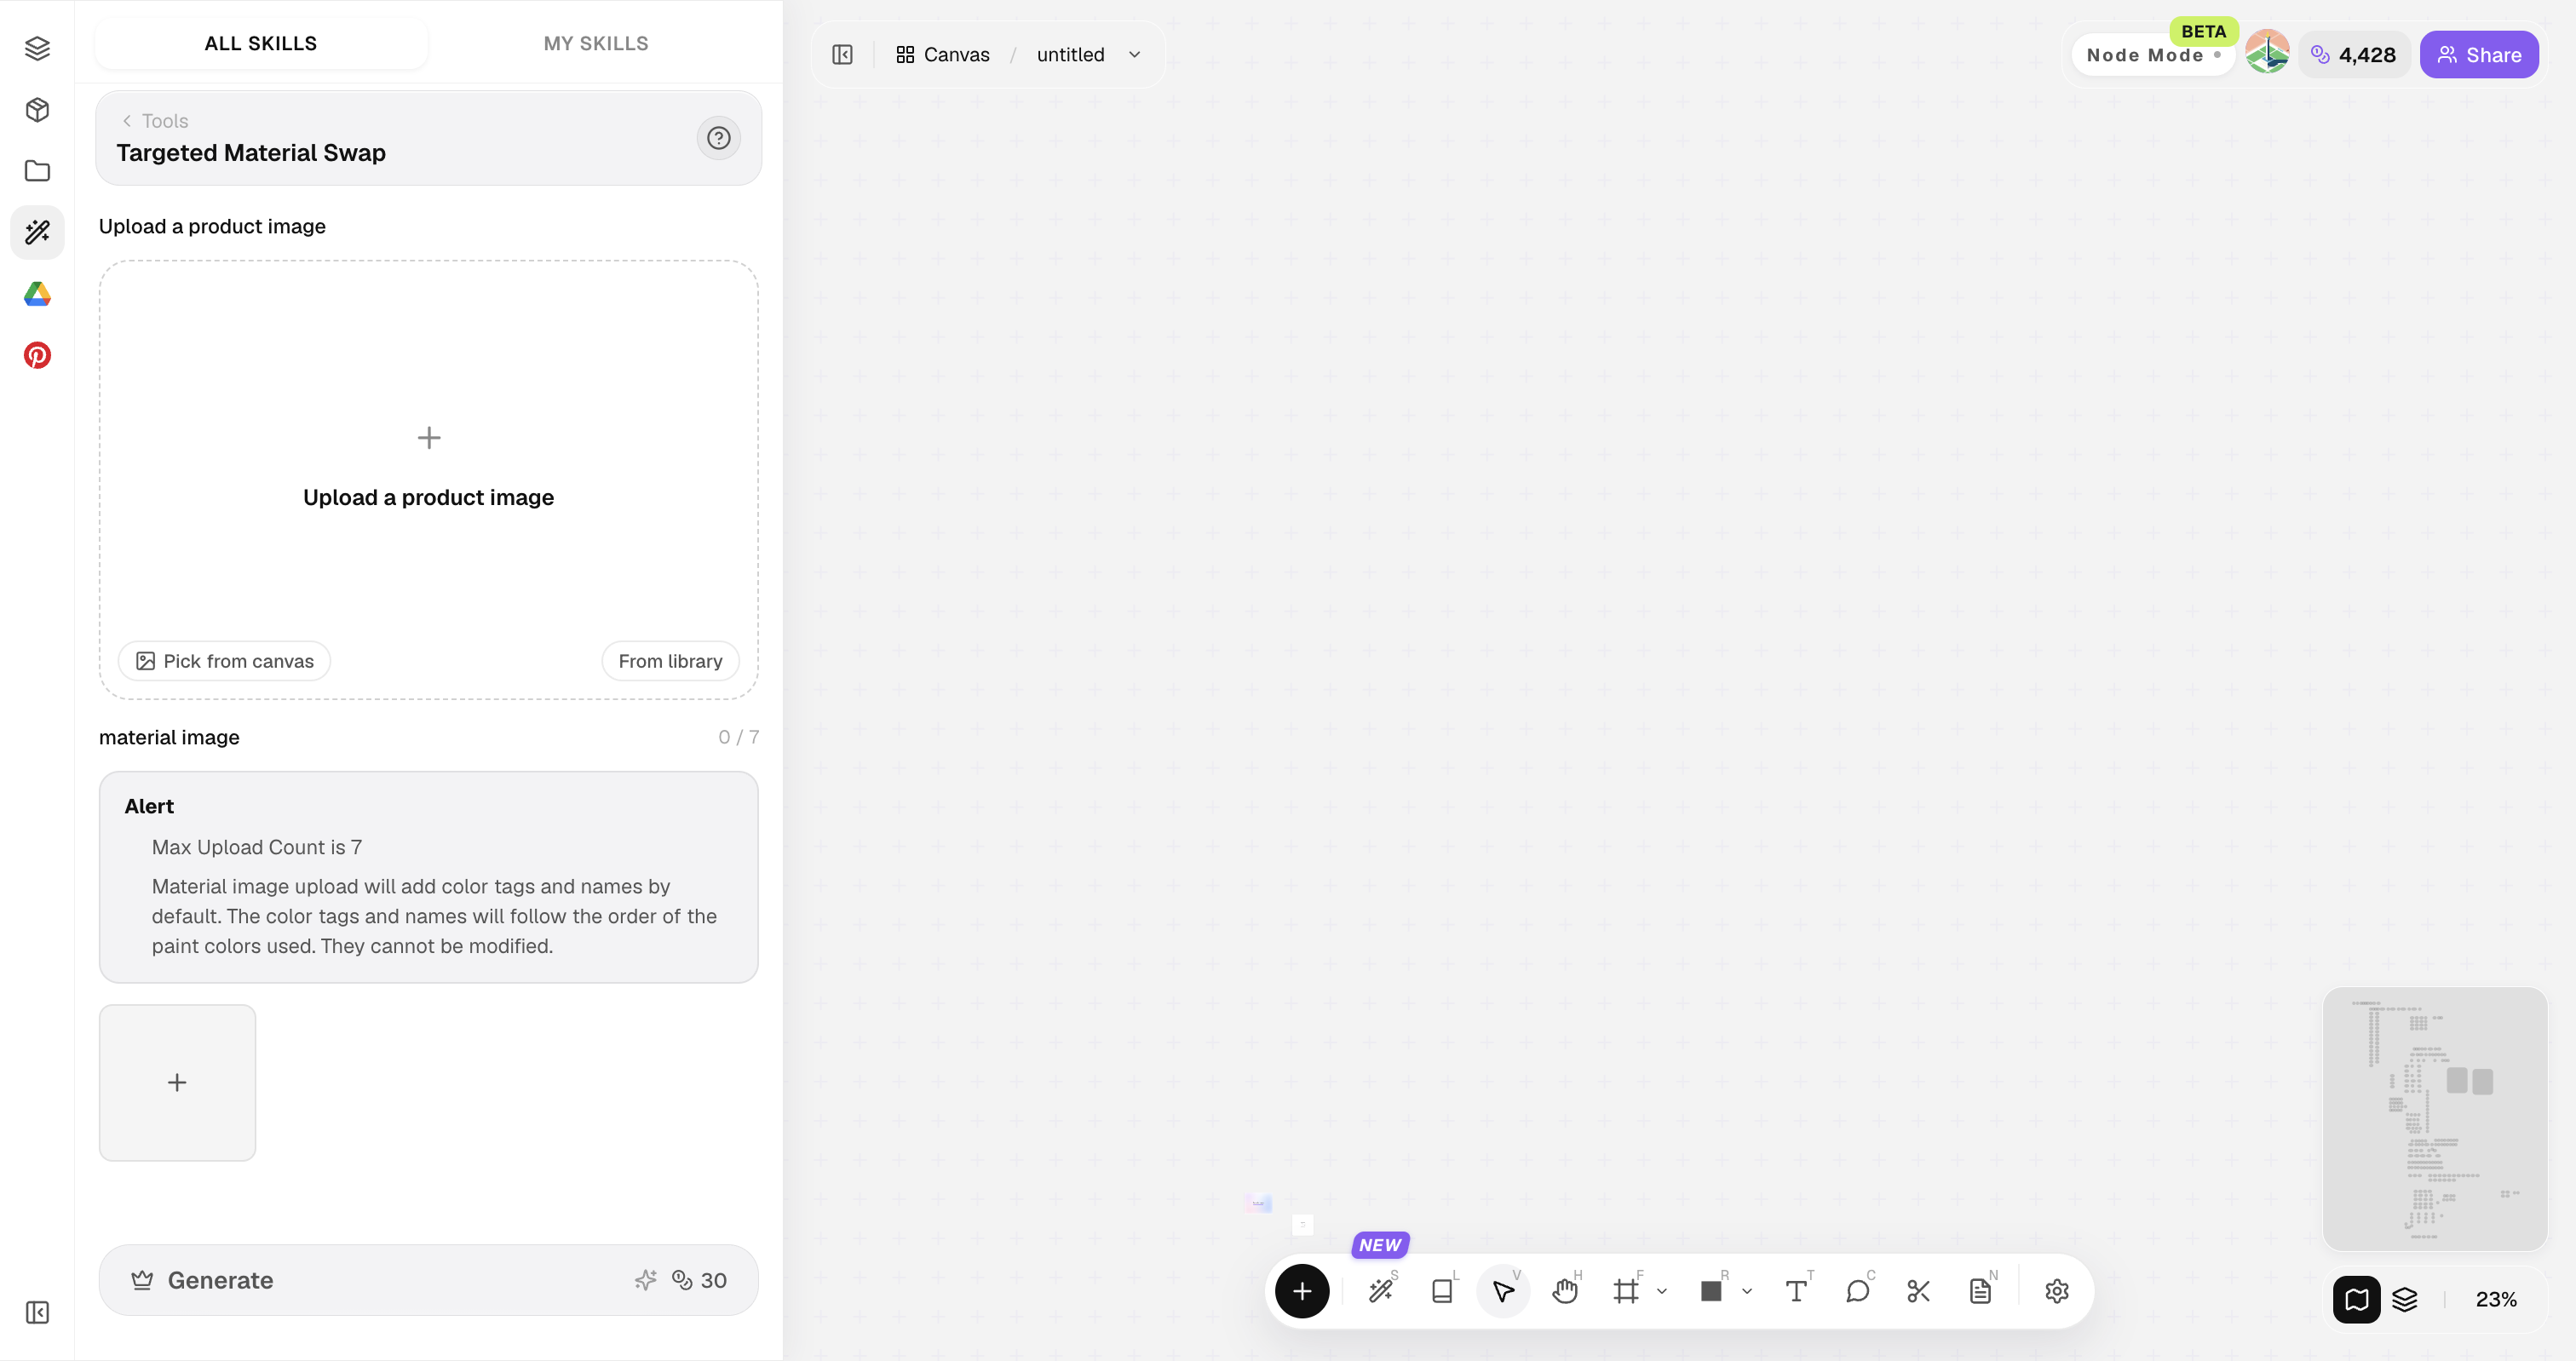
Upload the original image and follow the guide to mark replacement regions
Upload the original image, then mark each material region you want to replace. Every marker corresponds to one material reference in the next step.
Upload materials in marker order
Follow the marker numbers and upload the matching target materials in the same order. Multiple marked regions can be replaced together.
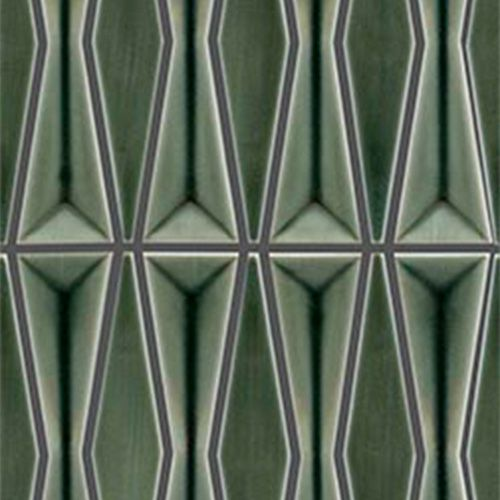
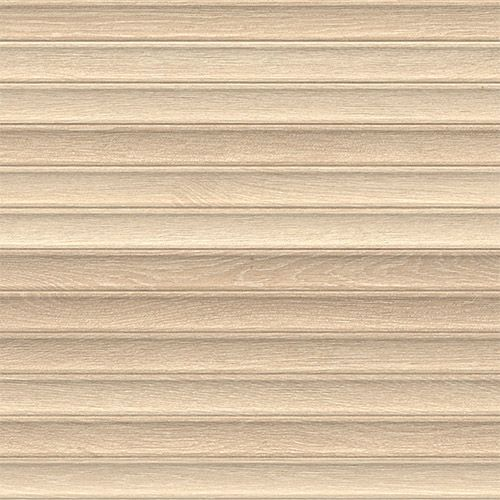
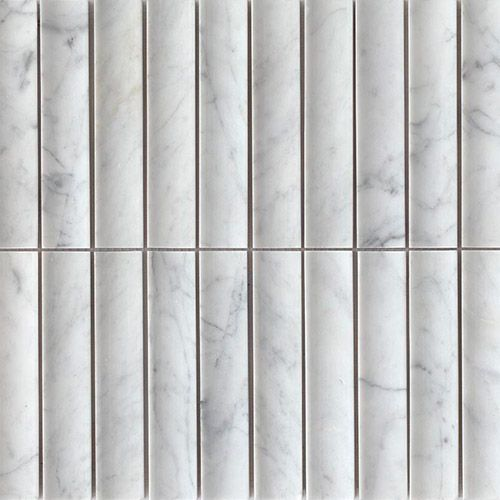
Generate options
Click Generate to replace all marked regions with their corresponding materials in one result. Compare options on the canvas, then refine the strongest one.
Tips for cleaner material swaps
Clear markings and correctly ordered material references make multi-region replacements more reliable.
Prefer high-contrast edges
Prefer regions with hard edges between materials. Soft or occluded boundaries increase material bleeding.
Keep scale plausible
Keep material scale plausible. Extreme tile or wood-grain scale jumps make the swap feel artificial.
Targeted Material Swap FAQ
This is for finish iteration — not a full space redesign.
What is Targeted Material Swap?
Targeted Material Swap replaces finishes in a selected area while keeping surrounding structure, camera angle, and context stable for option studies.
Can I change only the floor?
Yes—limit the region to flooring and provide a floor material reference.
Does it rebuild the room?
No. It prioritizes local finish change.
What references work best?
Close-up material samples with readable texture and color.
Can clients review options?
Yes, generate multiple finish boards from the same base image.