
What is Add People?
Direct answerBridge reference imagery and model-like visualization for faster 3D thinking.
Lovspark Add People helps teams explore form before committing to deep modeling.
Use it for furniture, objects, and architectural elements that need clearer volumetric reads.
Use it to speed up form and presentation discussions. Detailed modeling and CAD come next once the direction is locked.
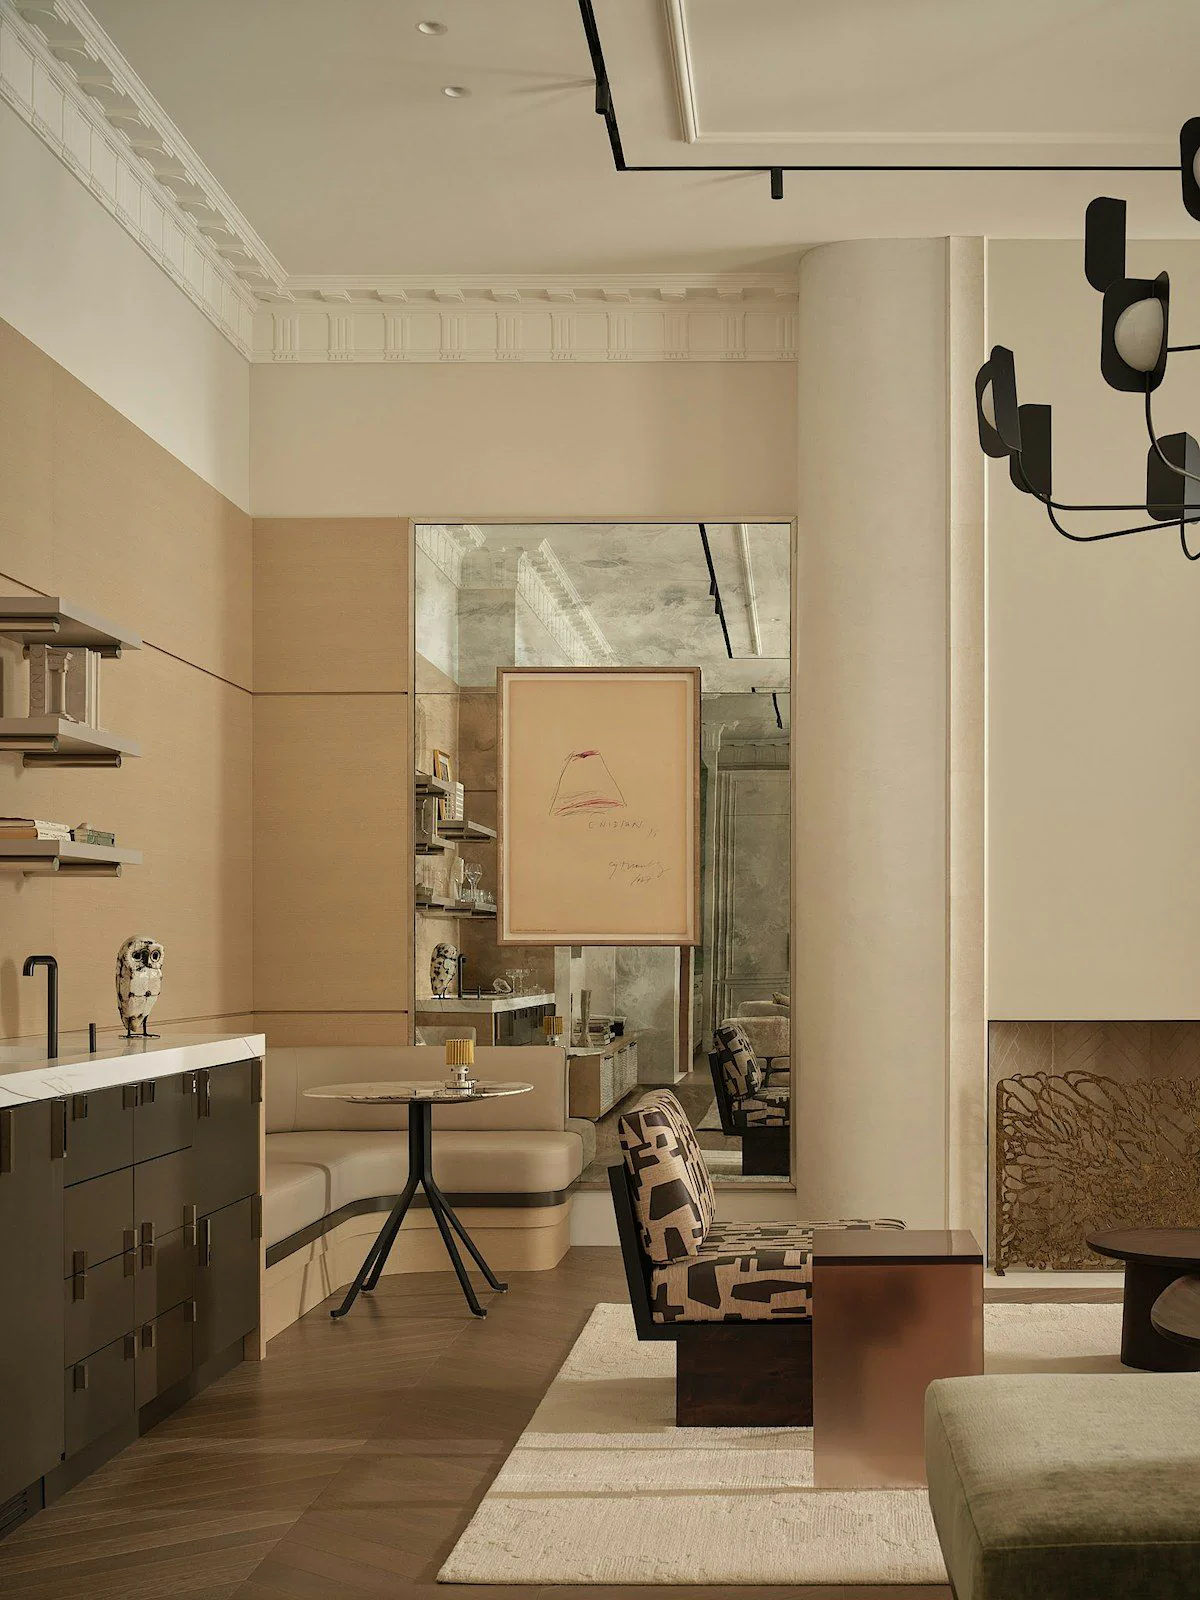
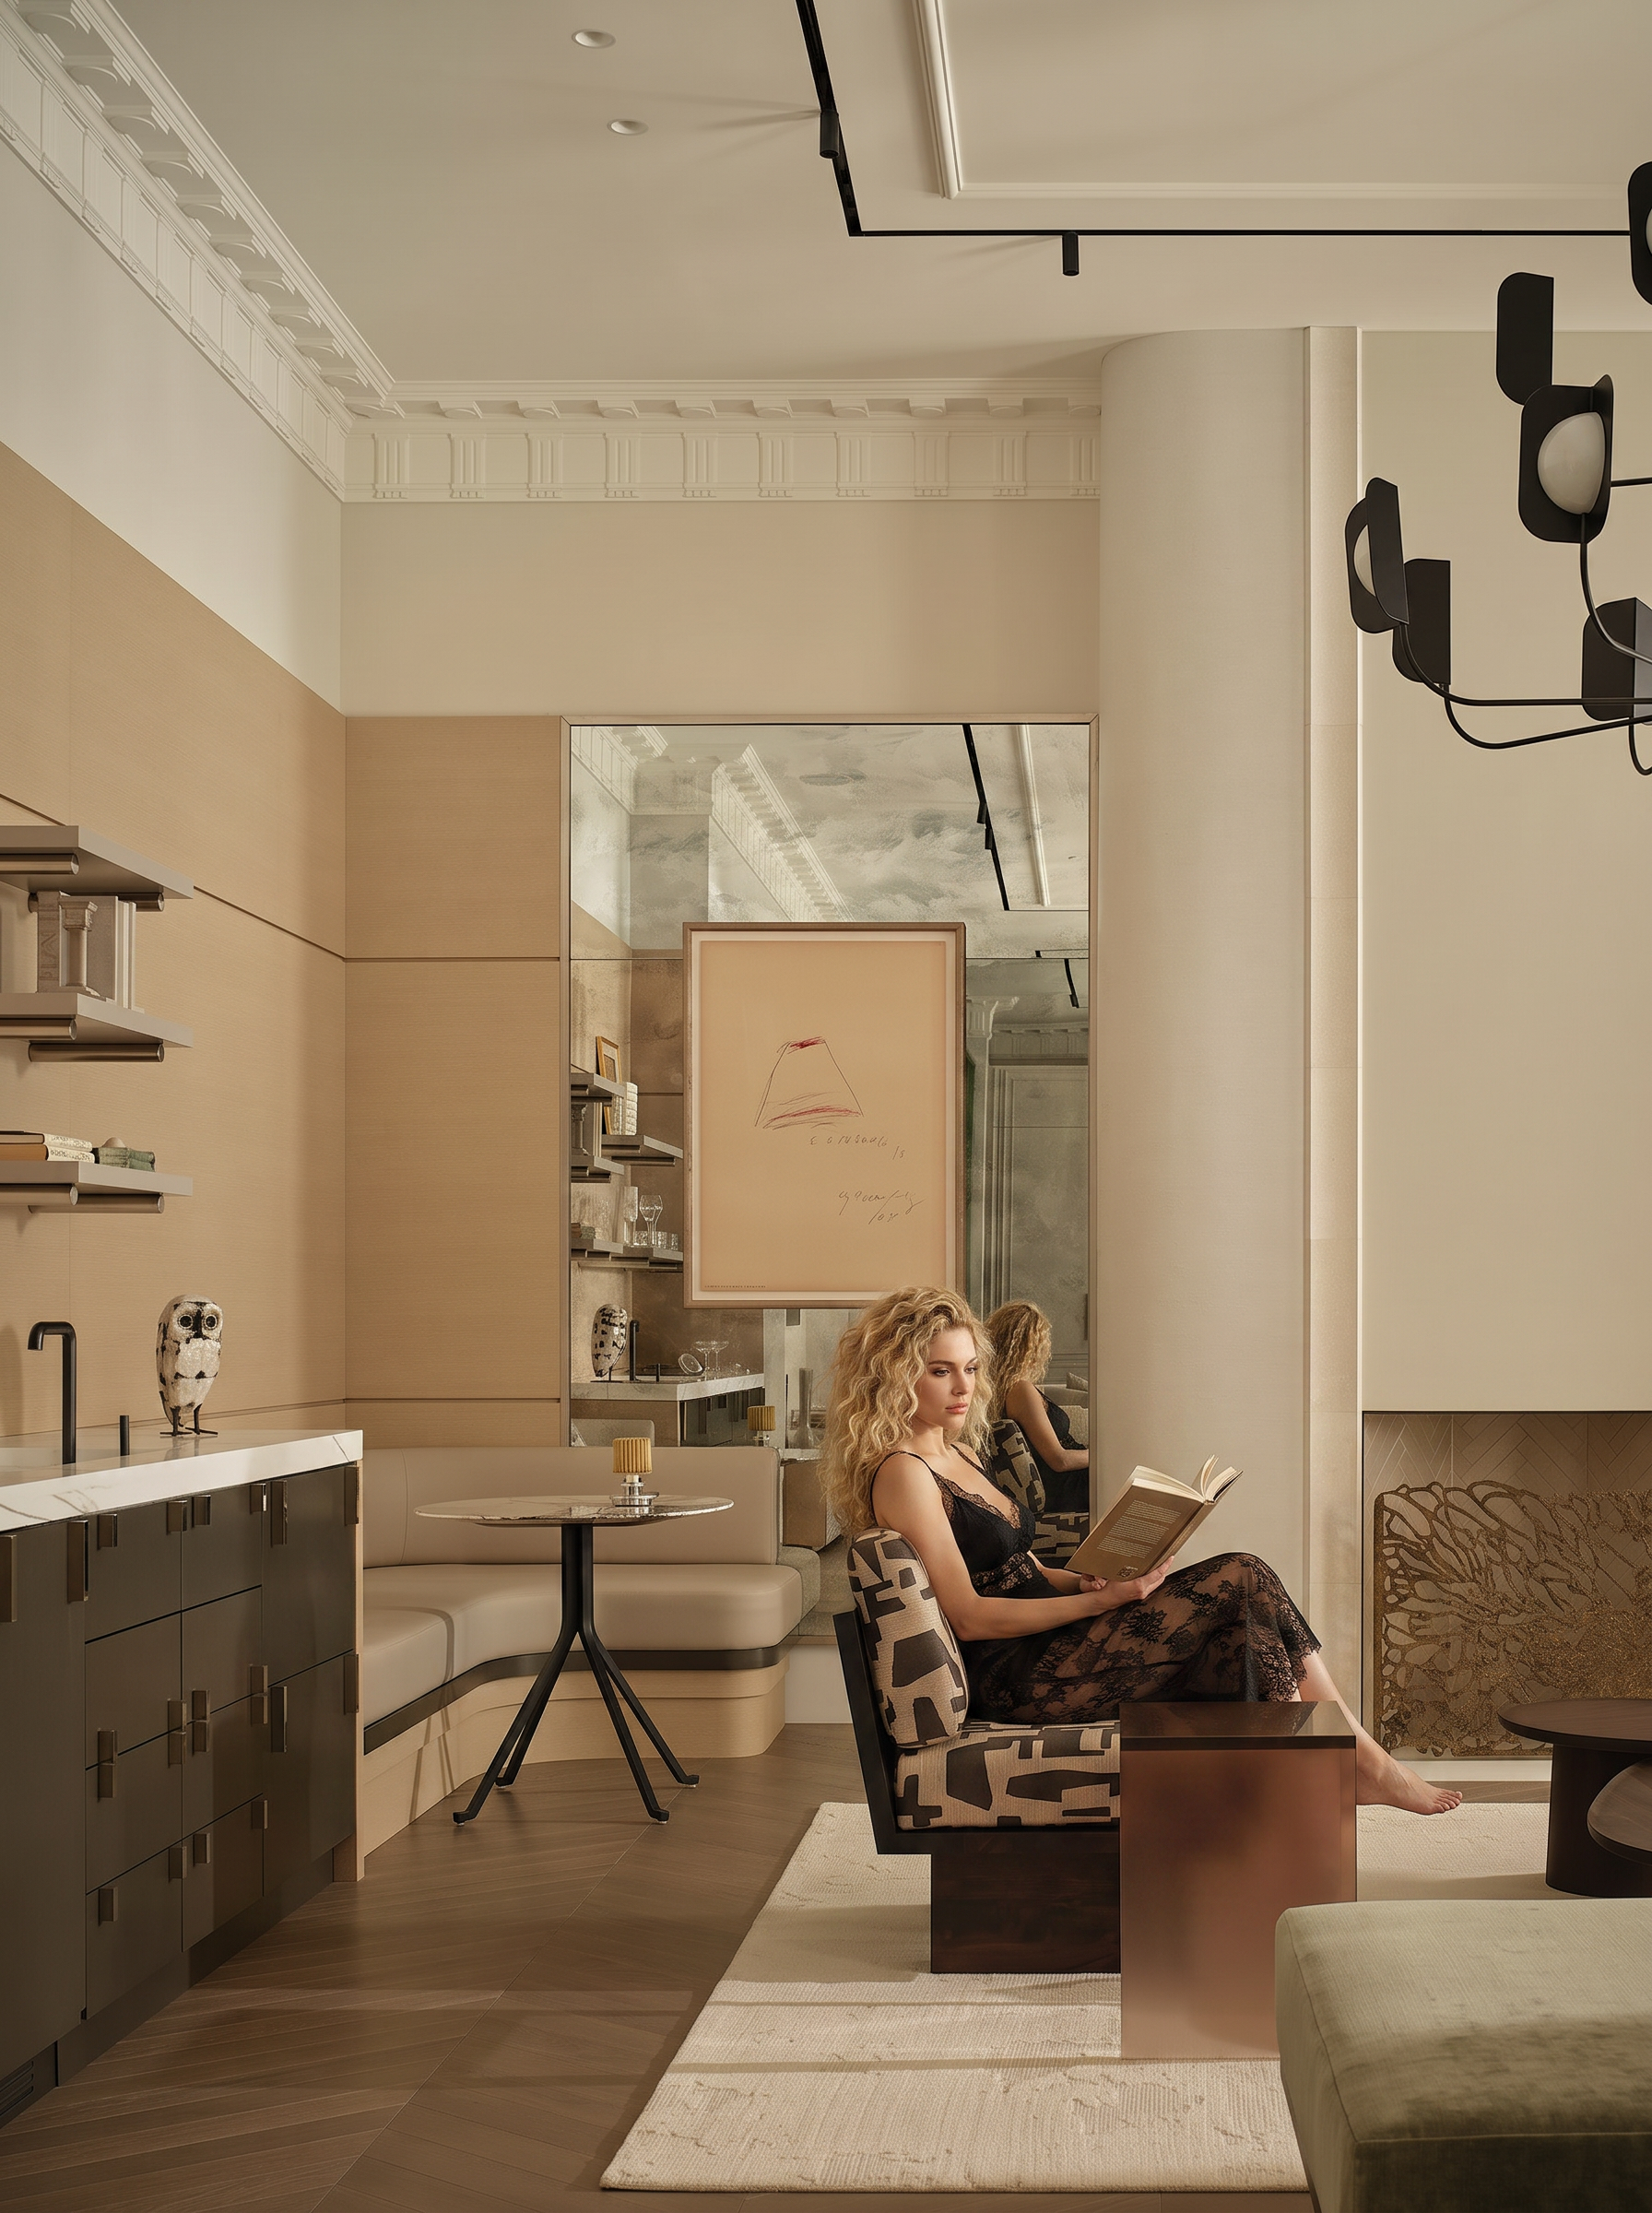
| Input | Reference photo or concept image |
|---|---|
| Output | Model-oriented design visual |
| Focus | Form, volume, presentation model look |
| Best for | Form studies, concept reviews |
| Next step | Detailed modeling / white model rendering |
- Object references
- Massing cues
- Concept photos needing volumetric clarity
Updated by the Lovspark Product Team, based on the live product and real project examples.
Sources: Lovspark product documentation · Lovspark Academy
Add People feature panel
Open Skills library and choose Add People. Upload the scene and an optional full-body person reference, describe the person's placement and action, then click Generate.
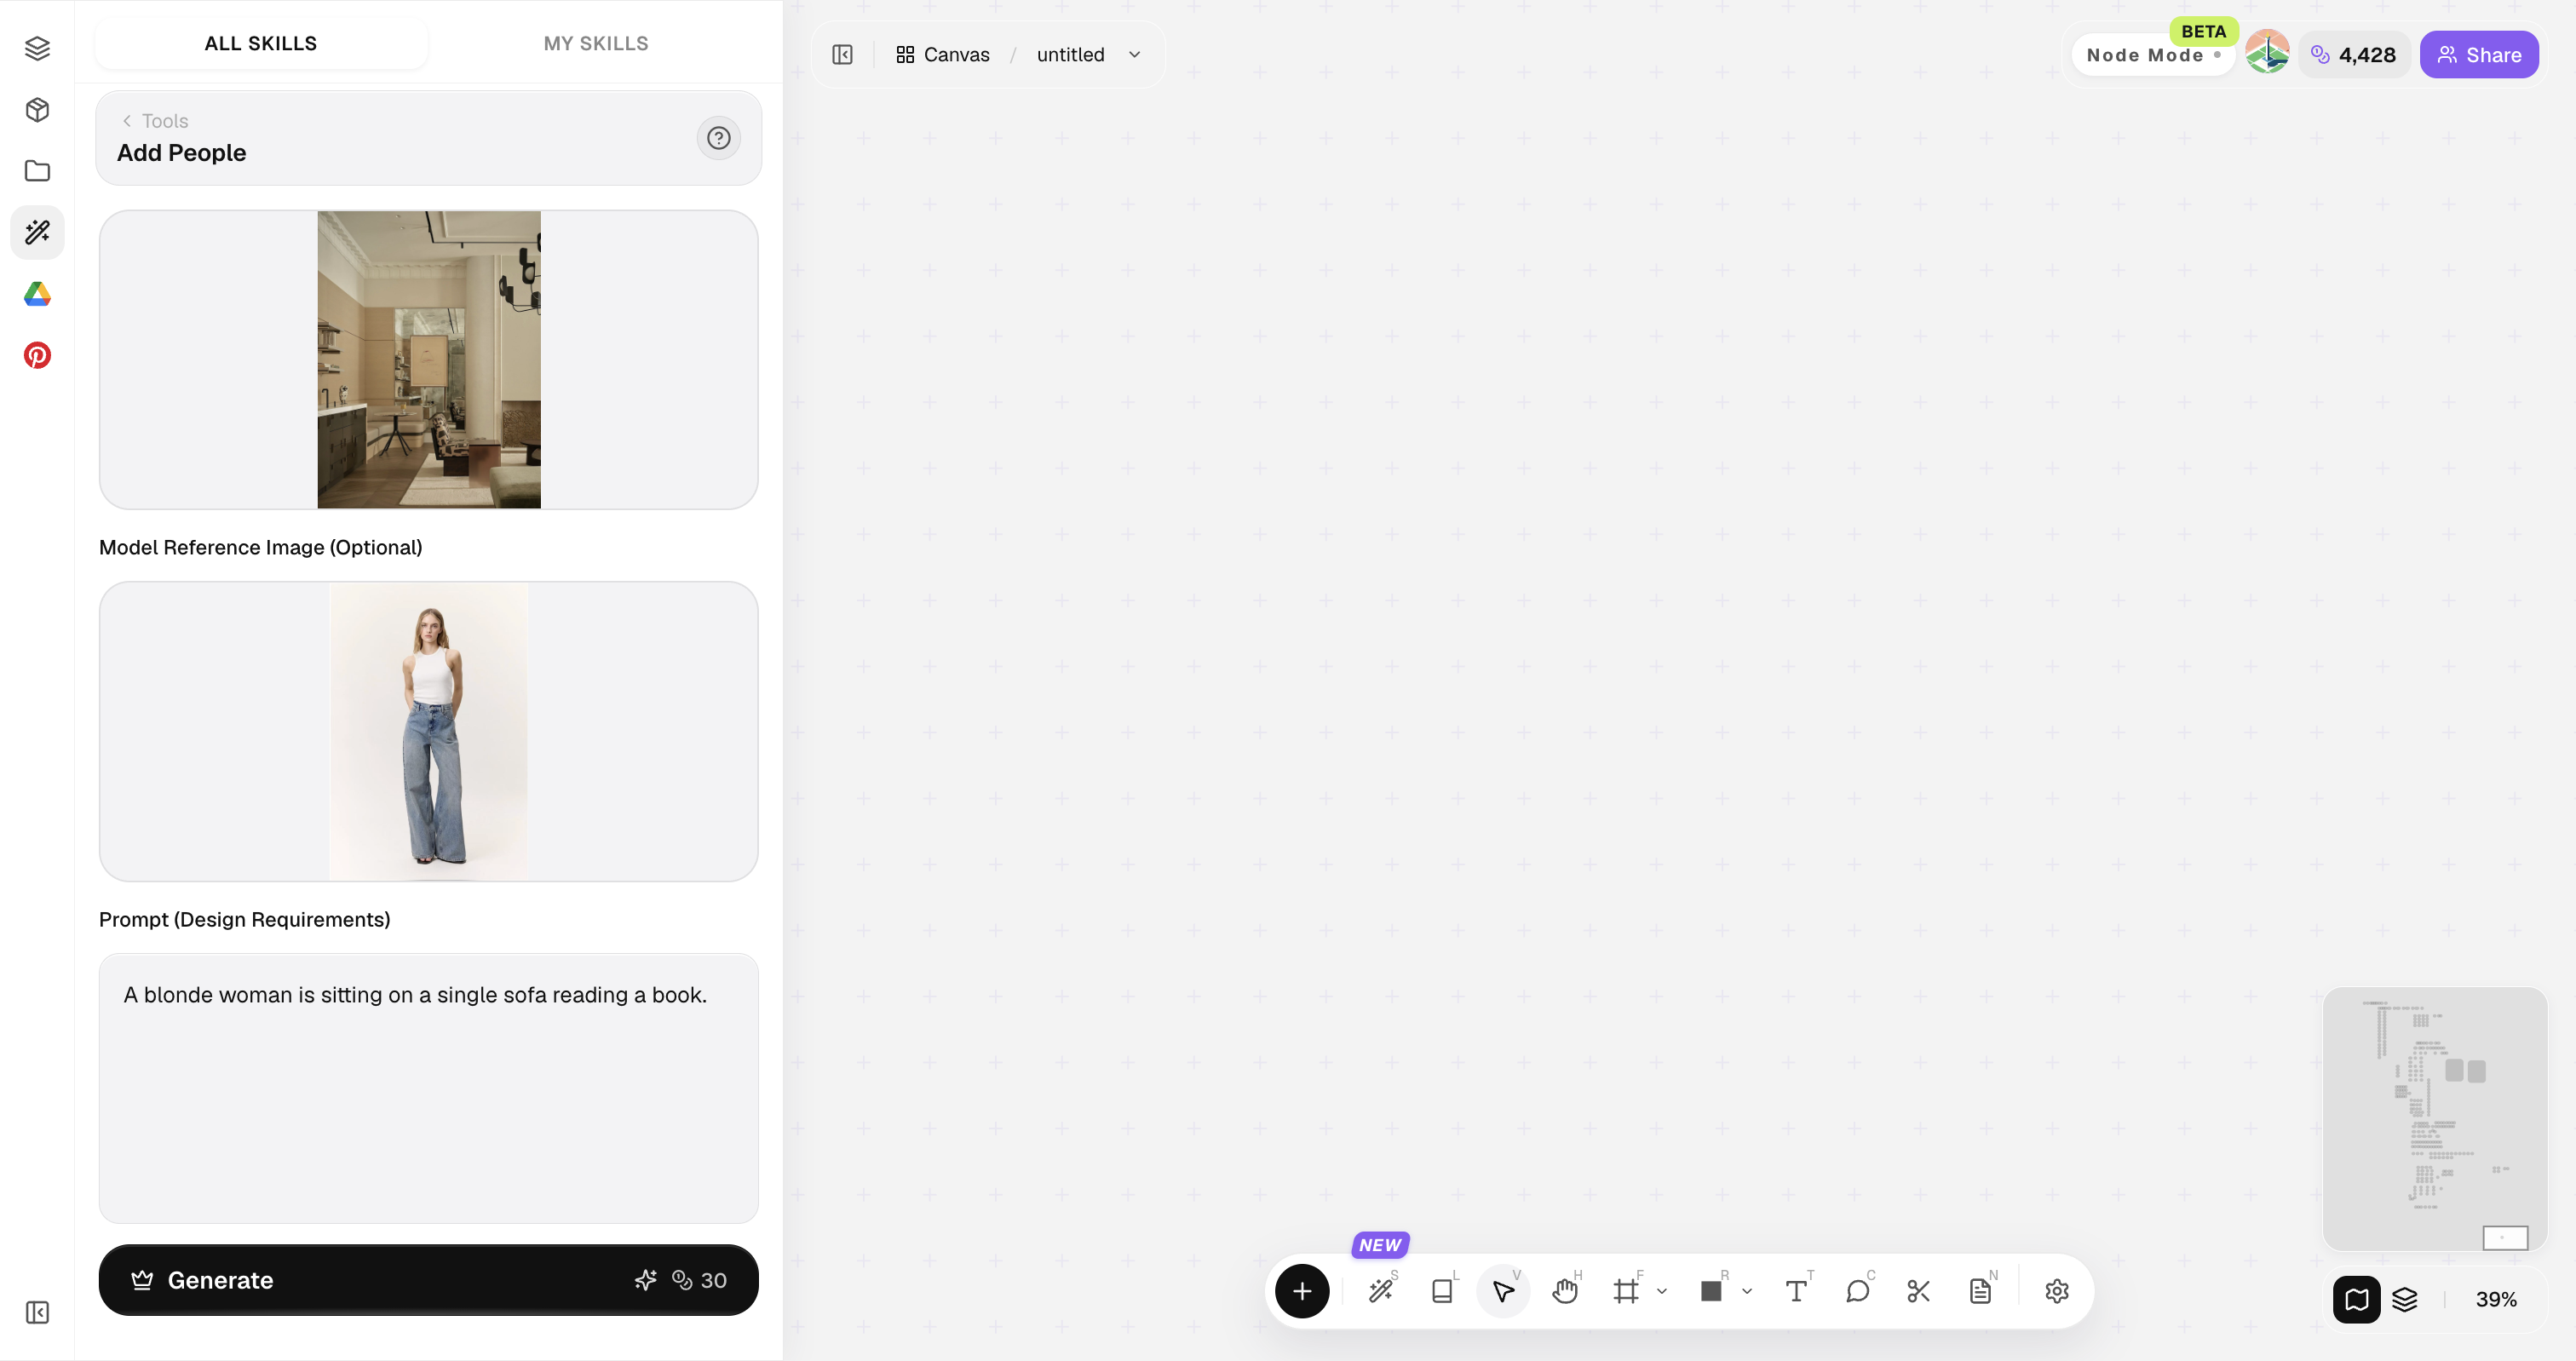
References with clear silhouettes produce stronger volumetric results.
How to use Add People
Three steps from reference to model-like image.
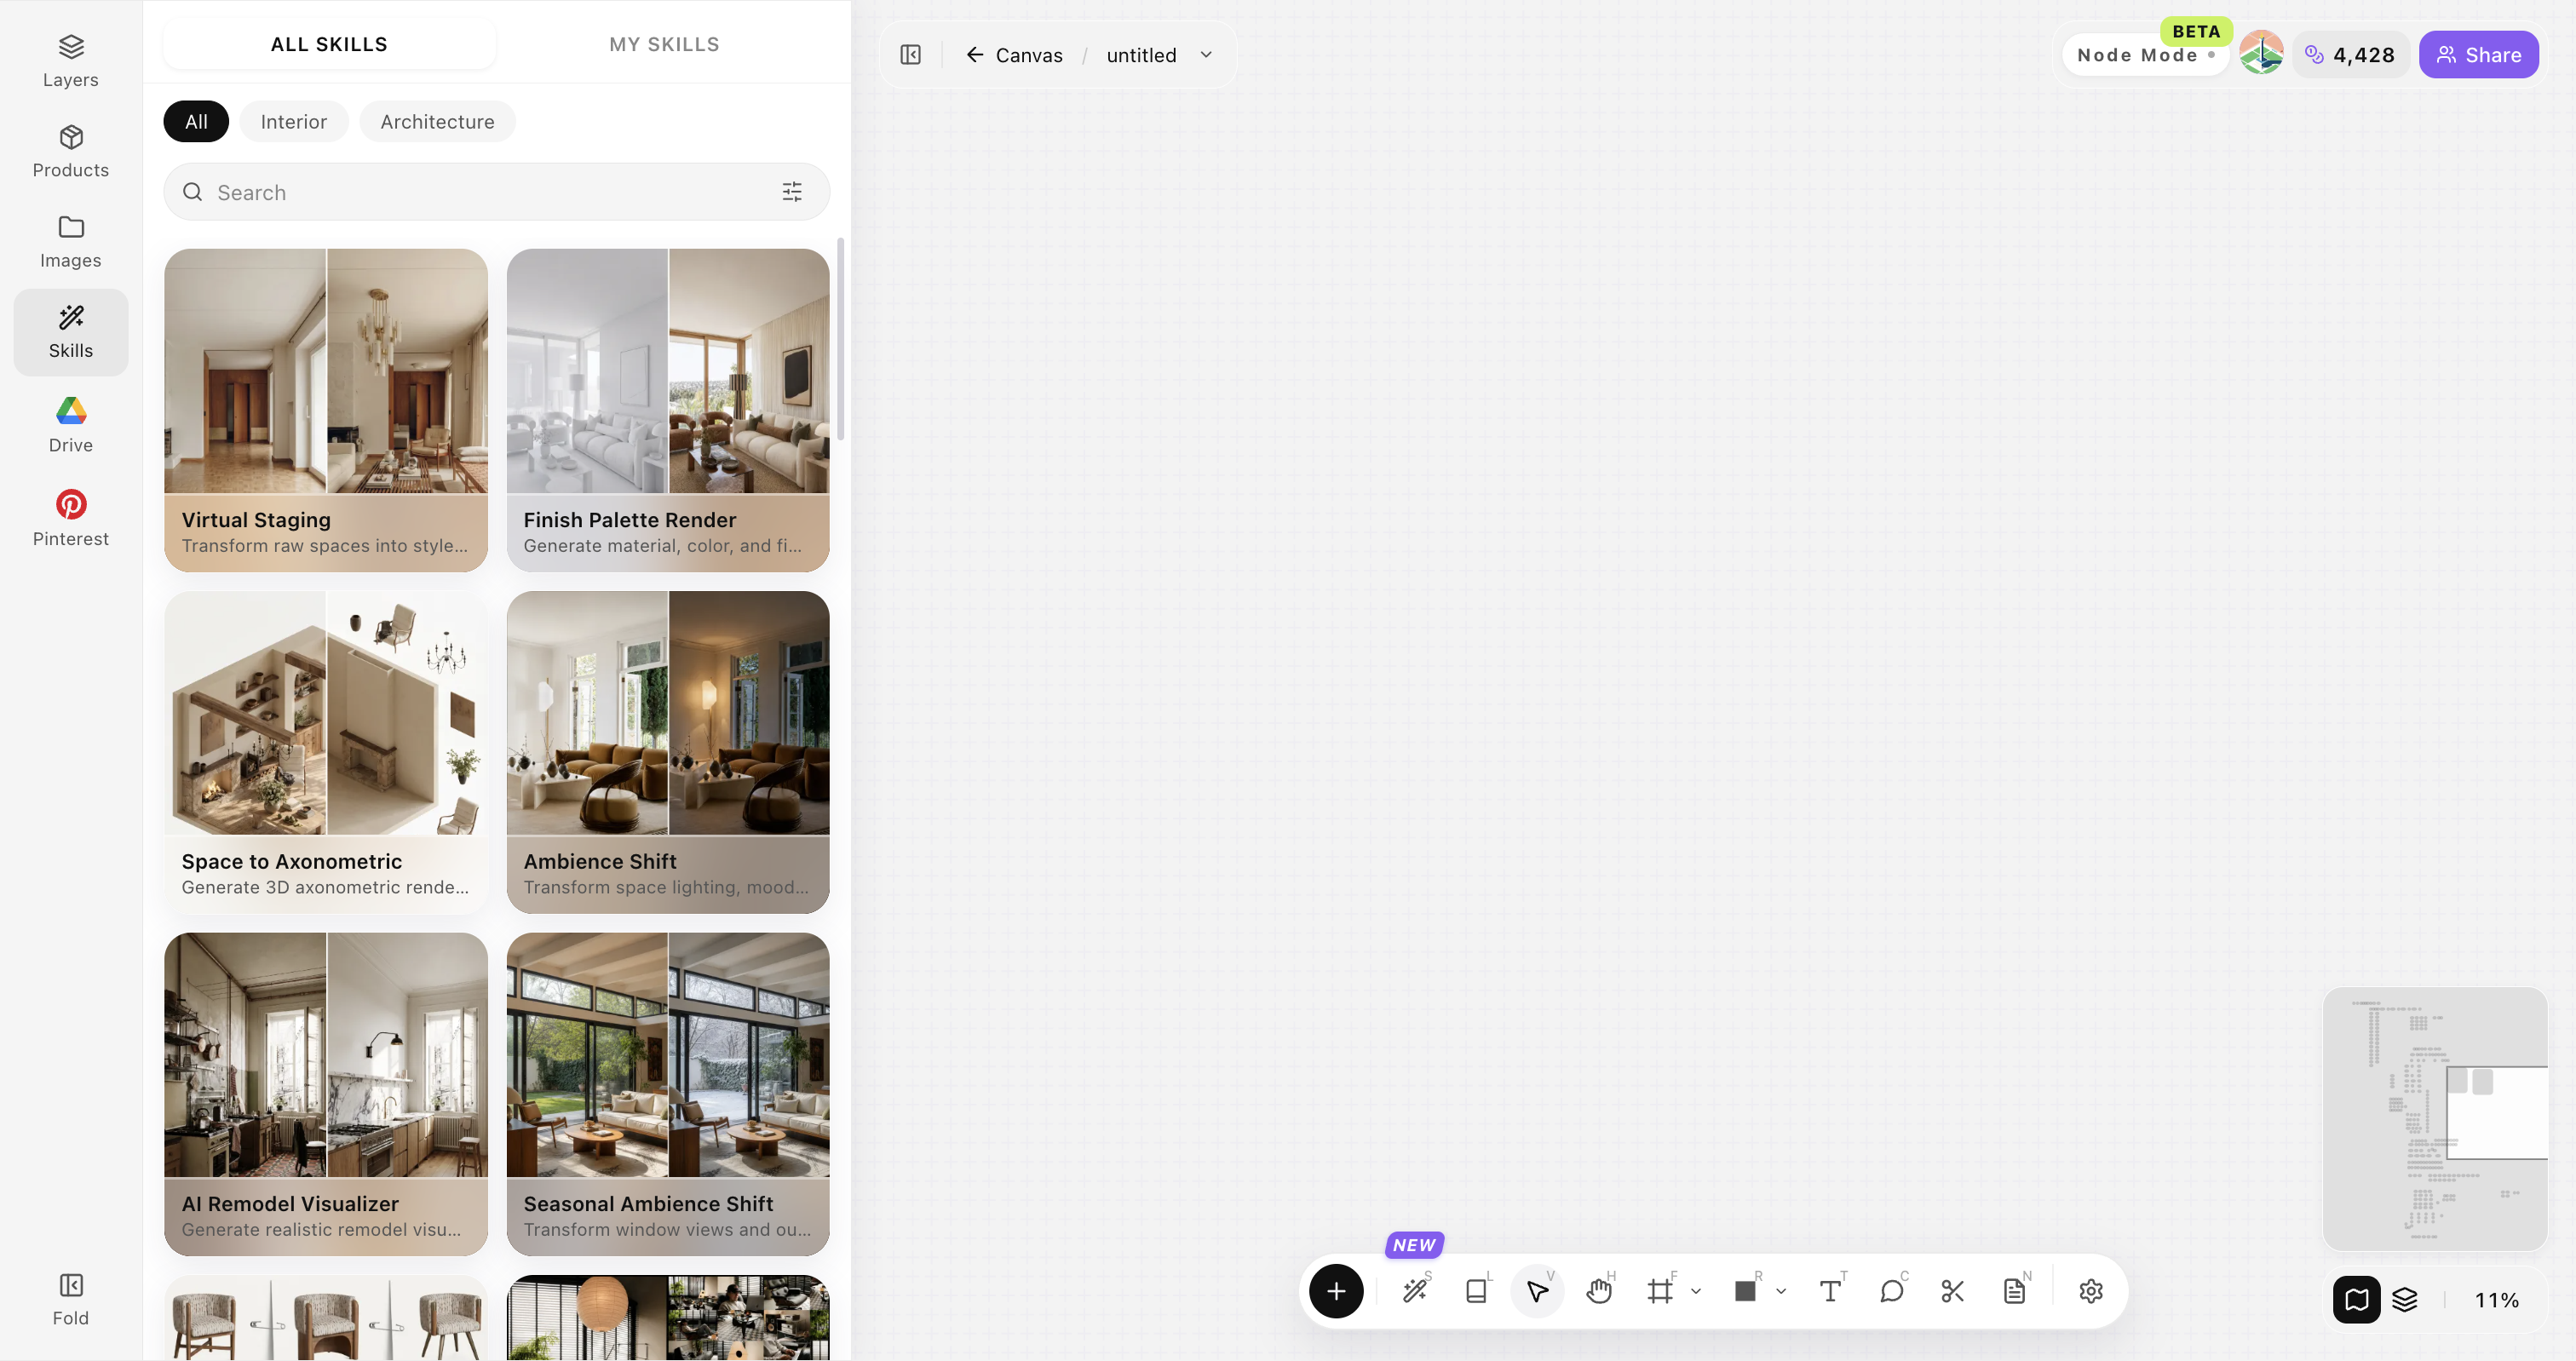
Open Skills library and choose Add People
Open Skills library, then choose Add People from the skill list to start this workflow.
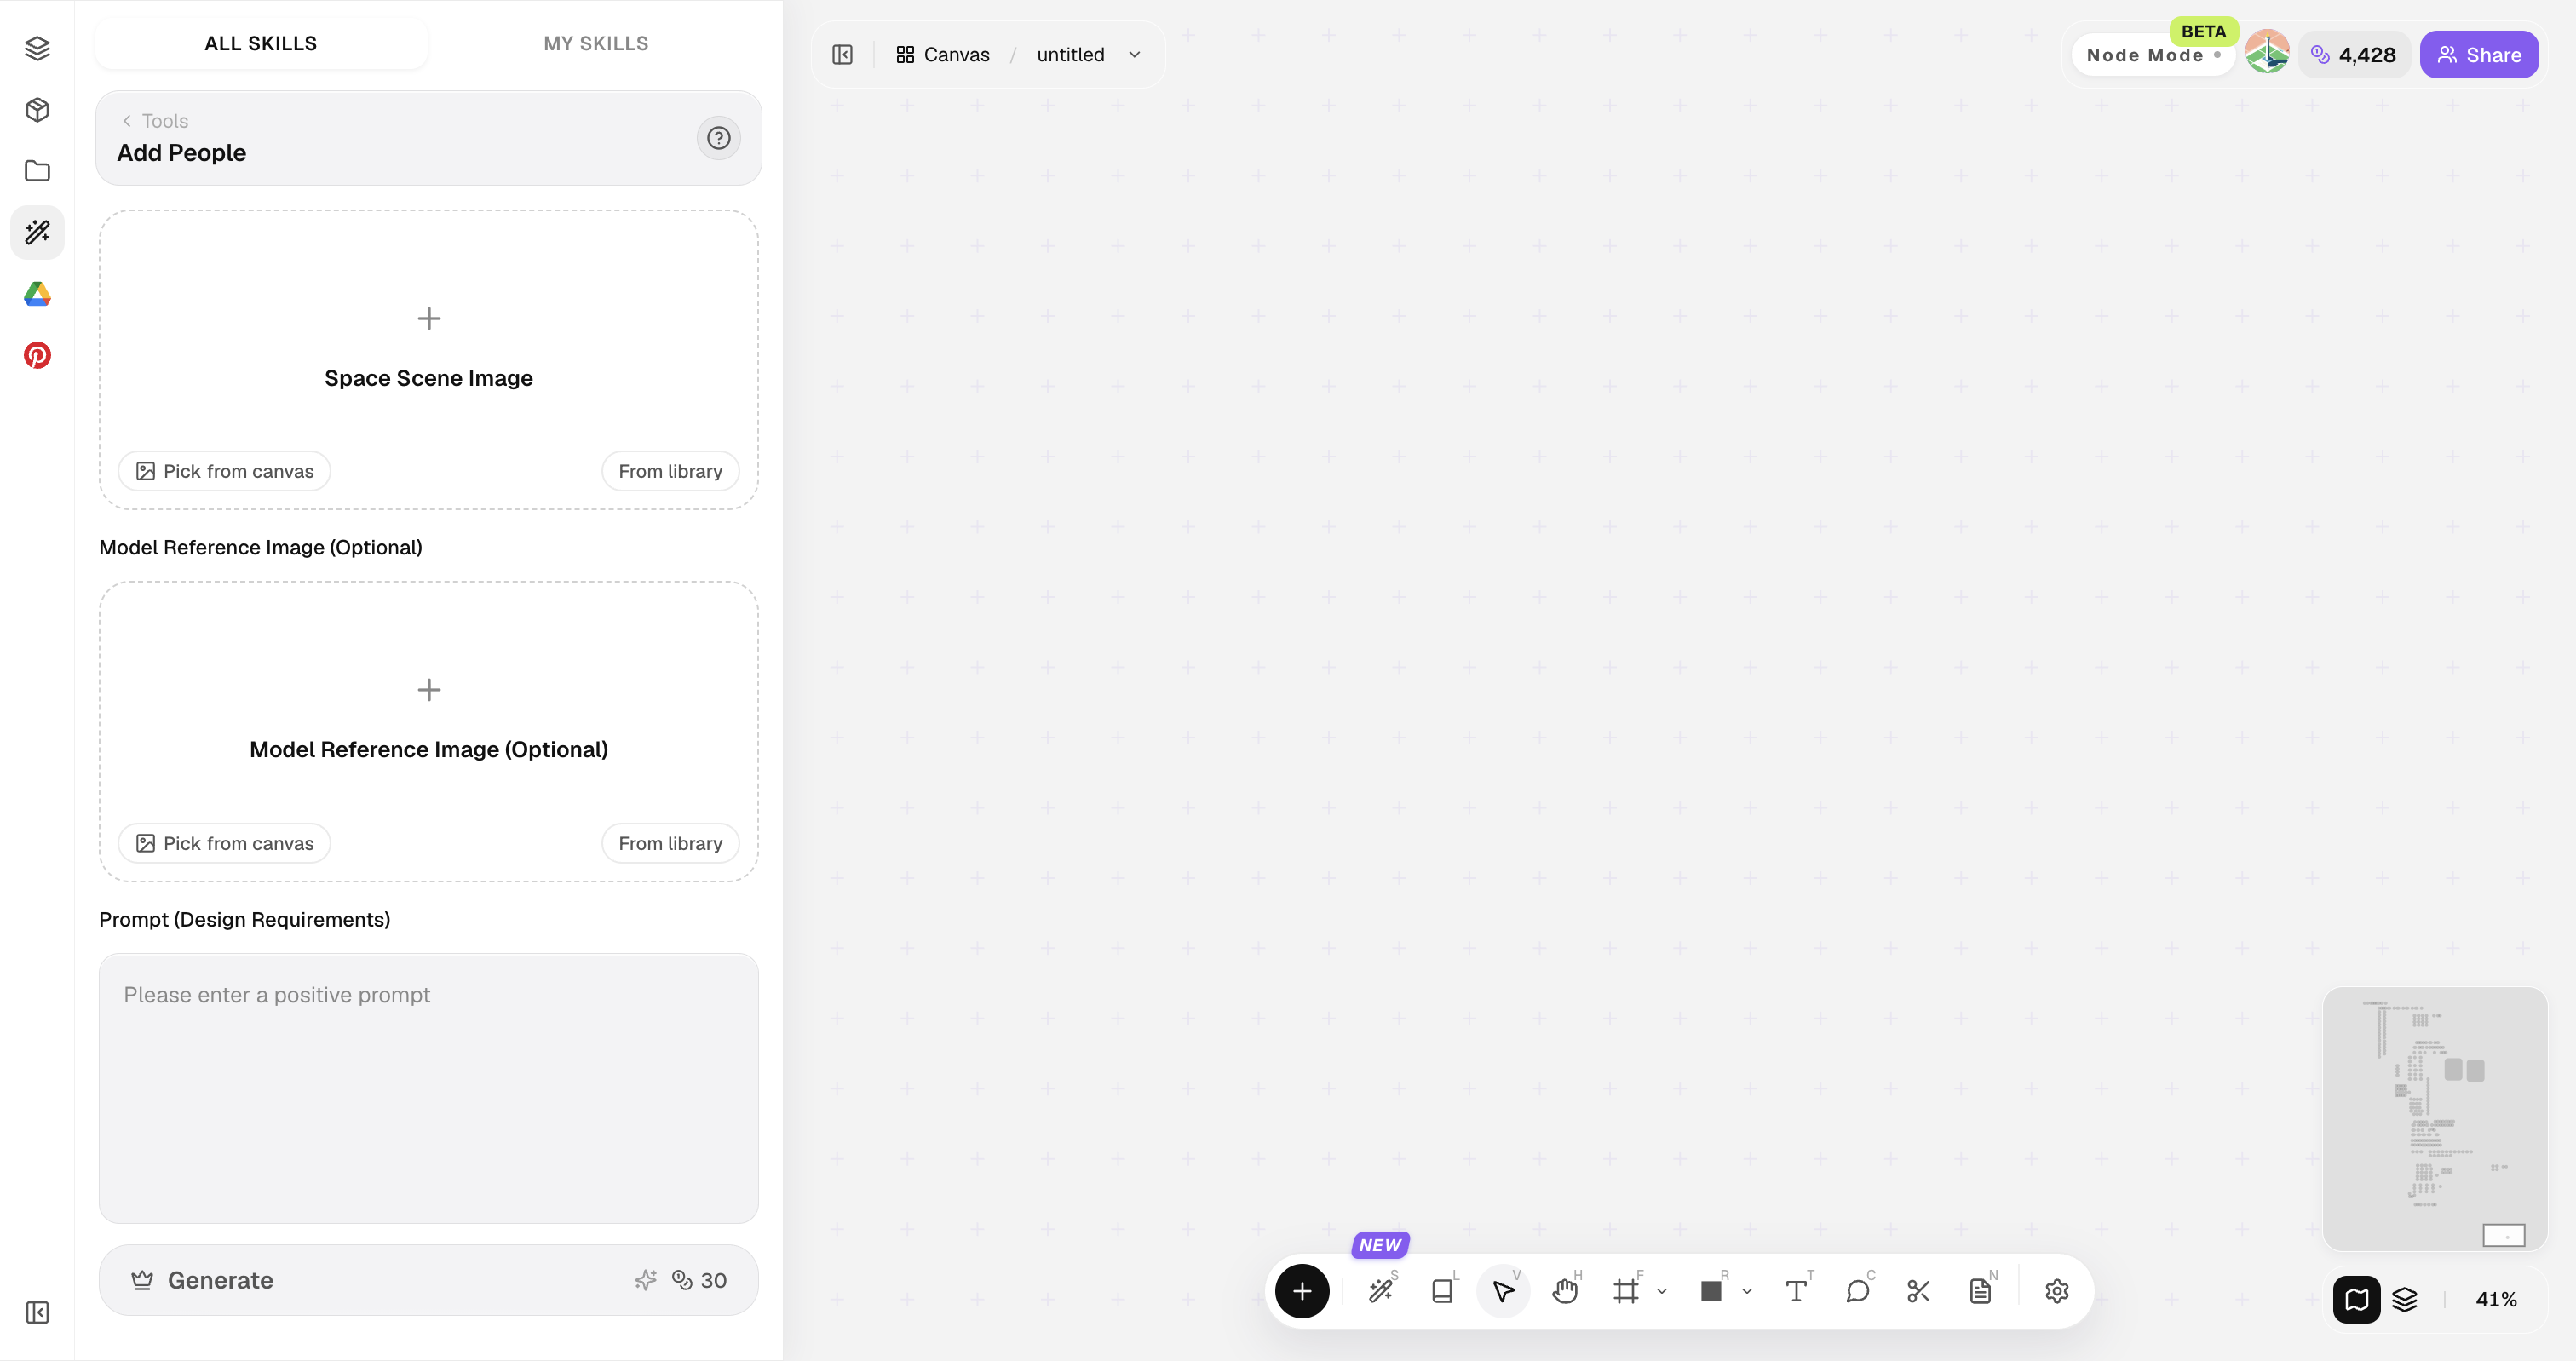
Upload your original image
Upload, paste, or drag in a clear original image. It becomes the base for this generation.
Set model look intent
Studio model, clay, soft shaded massing, etc.
Tips for useful model visuals
Optimize for form readability — not decorative noise.
Prefer neutral lighting intent
Prefer neutral lighting intent for form studies. Extreme drama can hide edges that matter for modeling decisions.
Isolate the subject
Isolate the subject when possible. Busy backgrounds reduce form clarity and distract from volume reading.
Generate clay and finished looks
Generate both clay-like and finished looks when useful. Different design stages need different kinds of volume reading.
Mark scale references
Mark scale references when size is critical. Add a known object or dimension note after selecting a direction.
Hand off to CAD deliberately
Hand off to CAD deliberately. Treat generated visuals as guides for intent, not as geometry sources of truth.
Add People FAQ
Great for form communication — mesh/CAD export is a separate workflow.
What is Add People?
Add People creates model-oriented visuals from reference images so teams can discuss volume and form before investing in detailed modeling.
Does it export 3D files?
This skill focuses on model-oriented visualization. Exporting editable CAD or mesh files is a separate workflow when you need production geometry.
Good for architecture massing?
Yes for early volumetric communication.
Can it refine furniture form?
Yes for silhouette and volume studies.
What next after selection?
Detailed modeling and Finish Palette Render.